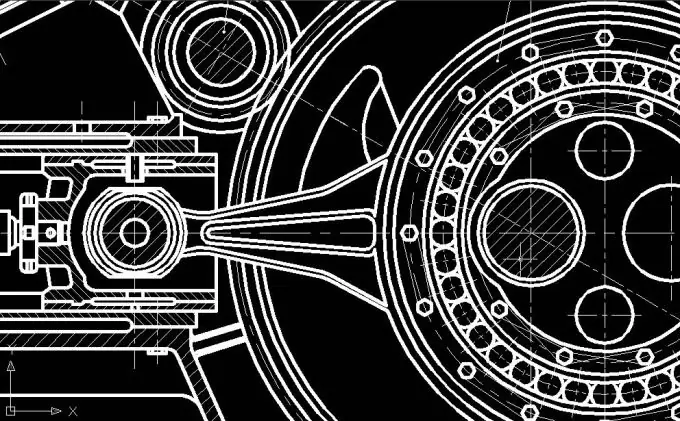
If earlier all the drawings were carried out by engineers only on paper, today it has become possible to optimize the process of creating a variety of drawings and plans. Computer technologies are used for drawing, and engineers use a professional AutoCad program to work, in which you can create accurate and high-quality plans.

Instructions
Step 1
It is not difficult to master this program - after a little training, you can easily make simple drawings using the basic functions of the program. As your skill grows, you will be able to master more complex functionality. The easiest way to draw any drawing is using lines and line segments.
Step 2
Open AutoCad. Draw your first line. To do this, select the "Line" icon on the toolbar in the top menu. Pick the first and last points of the line and the line will be created. If you want to make a line perpendicular to an existing line, press the F8 key.
Step 3
Among the main commands of AutoCAD, the key commands that will help you in your work are the commands for copying, moving, rotating and deleting. Without these commands, it is impossible to master the basics of computer drawing. Buttons for rotation, copying, transferring and deleting you can easily find on the main toolbar of the program. To apply a command to an object, select it and then click on the icon of the selected command.
Step 4
Select the origin and then pick the end point in the drawing. To delete an object, select it in the same way and press Delete.
Step 5
Start drawing any plan by drawing the center lines. Use the segment tool for this. Draw two perpendicular lines with segments - the horizontal and vertical axes. Select the created object and copy it to the desired distance, defined in the number of axes. You should have a mesh of the correct size.
Step 6
Select the created lines and open their properties window. Set dash-dot as the line type. Then, based on the dashed guide axes, start drawing the main parts of the drawing with solid lines. Select the axis along which the drawing line runs, and then copy it equidistant left and right.
Step 7
Thus, you will get an even strip of the part. Select it and set the line type in the properties to solid line. To avoid crossing the lines of the drawing, select the option "Fillet" in the menu and, holding Shift, click one by one on the line. In addition to lines for drawing various elements of the drawing, you can use the circle tool.


