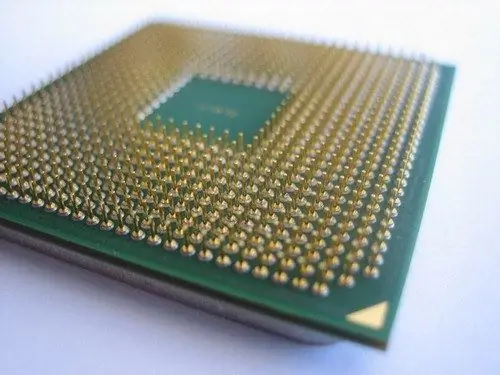
If a computer is not used as a "typewriter", in the course of its operation there will inevitably come a moment when the computing power of its processor is no longer sufficient to perform the tasks set by the user. Of course, the "stone" can simply be replaced, but this procedure requires financial investments. Overclocking the processor in this case can significantly "extend the life" of the system, thus saving a lot of money.

Necessary
Windows computer
Instructions
Step 1
First of all, make sure that your computer's cooling system coolers are efficient enough to “withstand” an overclocked processor. It should be remembered that during overclocking, the temperature rises not only of the "stone", but also of the RAM chips, as well as some elements of the motherboard, in particular, the power supply circuit. If the efficiency of the cooling system is insufficient, overclocking the processor is categorically contraindicated, as this can lead to the failure of the computer. To find out the temperature of the "stone" under load, use any test utility, for example, Aida 64.
Step 2
If the "thermal" parameters are normal, you can start overclocking. To do this, go to the motherboard BIOS control panel. To do this, press the BIOS Enter key on your keyboard while starting your computer. Typically, this is F2 or F10. The computer itself will "tell you" which key to press. This information appears on the screen immediately after the start.
Step 3
In the BIOS settings, find the tab with the processor settings. It can be called differently, but in most cases its name includes the abbreviation CPU. In the tab that opens, find the line with the current system bus frequency of the processor. Usually this parameter is by default in the AUTO state, that is, it is automatically set in accordance with the nominal processor frequency. Change this parameter to "manual control" (uncheck the box next to the word AUTO).
Step 4
Increase the system bus frequency to the required value, while being careful not to forget. If you exceed the frequency limit allowed by the processor, the computer will not start. In this case, reset the BIOS settings to the factory state using the special jumper on the motherboard and try again at a lower frequency.


