A watermark on a web image, like an artist's signature on a painting, indicates the authorship of the work. You can create a watermark using the free graphics editor Paint.net.

Instructions
Step 1
Start Paint and create a new image using the New command from the File menu. Double click on the "Background" icon in the layers panel. In the dialog box that opens, uncheck the box next to the "Visible" property - the background will become transparent. Add a new layer by pressing Ctrl + Shift + N or by clicking on the "Add new layer" icon in the layers panel.
Step 2
On the toolbar, press T. On the property bar, set the font type and size. Set the main color to white - it will suit both dark and light backgrounds of images. Write the text you have chosen as your watermark.

Step 3
On the toolbar, check "Select rectangular area" or press S on your keyboard. Select the text with a rectangular frame and press Ctrl + X to cut the selection. On the layers panel, click the "Cross" icon to delete the layer. Add a new layer and use the Ctrl + V keys to paste the cut fragment.
Step 4
Hold Shift, click on one of the corner size handles with the mouse and drag to the center or from the center to resize the text. When you are satisfied with the size, press Enter. Double click on the layer thumbnail in the layers panel and lower the opacity to about 70. Save the image in.
Step 5
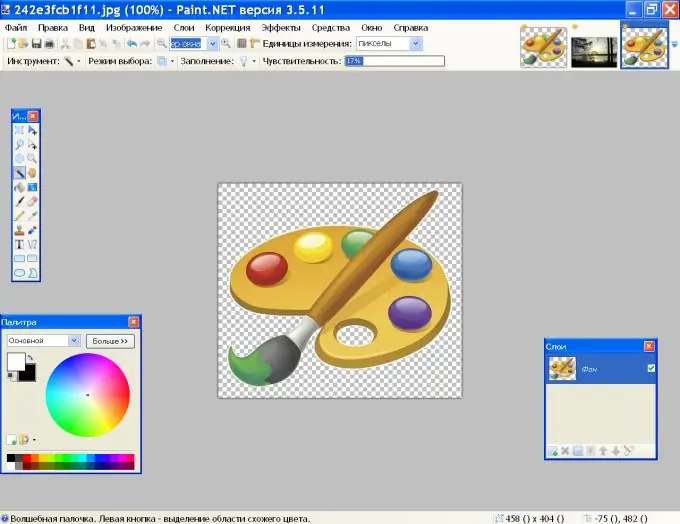
You can use a picture as a watermark. You can create it yourself or find a ready-made image. Remove the background of the picture using the Magic Wand tool. On the property bar, set the mode to "Complement", sensitivity about 17% Click on the areas to be deleted and press Delete.

Step 6
Select the picture with the Rectangular Selection Tool, then press M. Resize the image as in step 4, but do not press Enter so that the selection frame remains around the picture. In the Adjustments menu, click Make Black & White.
Step 7
Again activate the Magic Wand tool in Add mode and click on the background. From the Edit menu, choose Invert Selection. From the Effects menu, in the Artistic group, click Pencil Sketch. Leave the default settings.

Step 8
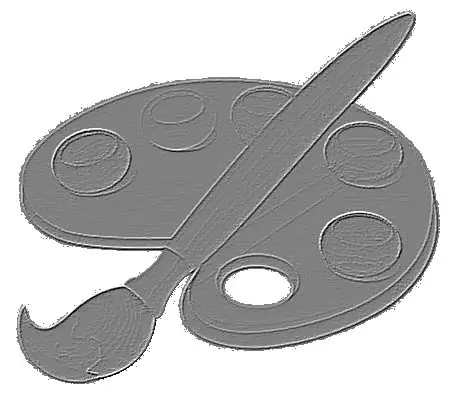
Then in the same menu in the "Stylization" group, click "Bas-relief" and select the angle of rotation so that the picture is the most expressive. Reduce the transparency of the image and save as.png"


