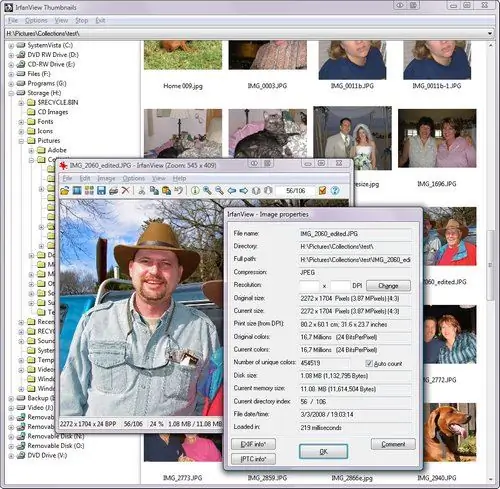
Quite often, Internet users are faced with the problem of image size. Sometimes it becomes necessary to reduce the image in order to insert it into a blog, website, send it by mail, etc. There are many ways and programs that you can use to do this. Below you will find instructions to help you zoom out with one very simple and affordable program called IrfanView.

Necessary
IrfanView program
Instructions
Step 1
Download IrfanView software. In addition to the ability to resize the image, this program also has many other functions, but for now we will focus on reducing the size of the image. Unpack the program into any folder convenient for you, run it.
Step 2
Click "File" - "Open". Then select the image you want to resize, open it.
Step 3
Select "Image" - "Risize / resample" from the menu. You can call the same option with the "CTRL + R" keyboard shortcut.
Step 4
A window will appear in front of you. In this window, set the parameters that you need - set the desired size (on the left under the heading "Set new size"). This parameter sets the physical size of the image, that is, the width and length in pixels. If your image was taken with a digital camera, then it is most likely very much larger than the size of an image that can be uploaded to a website or blog.
Step 5
Check the box "Preserve aspect ratio", otherwise your image will be distorted and lose its aspect ratio when resizing. Do not select an image size larger than 1280 in length - a larger image will not fit on a regular monitor.
Step 6
Save the modified image. To do this, go to the menu "File" - "Save as" (do not confuse with "Save"!). A window will appear. Select the folder in which you would like to save the image, give your file a name, check the “Show optional dialog” box. An options window will appear. In this window, check the boxes next to "progressive JPG". Use the slider to set the desired compression and quality. As a rule, setting the quality value to 80 is sufficient. At least this compression is most convenient when adding an image to a blog.
Step 7
Click OK. Your image is ready to use!


