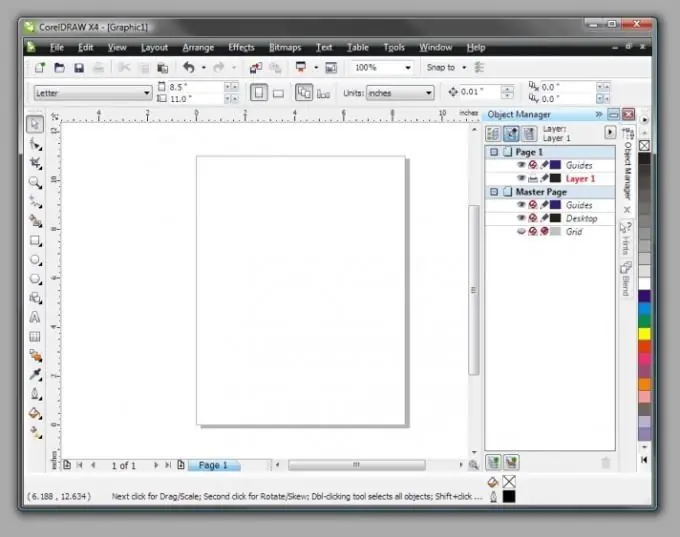
Corel Draw is a professional computer graphics editor. With its help, advertisements, children's pictures and even fantasy pictures are created. Of course, everything may not work out all at once. Start simple - draw a line in Corel.

Necessary
Personal Computer
Instructions
Step 1
Draw a straight line. To do this, in the left column of drawing tools, select the icon that shows the sharpened tip of a pencil. It's at the top of the column. A horizontal toolbar will drop out. From there, select the tool called the "polyline". It is the most convenient and easiest to use. Place the cursor at the point from which the line will emerge and press the left mouse button. Move the cursor to the length you need and double-click the left button. Please note that when you start drawing the line, there should be one click, and at the end - two. Please note that the line drawn with such a tool will be super thin and will not be visible when printed on paper.
Step 2
Be sure to select the thickness of the line in the upper line of the tools in the window located on the right side. The maximum value there is 2.0 mm. If you need more, then make manual input of numbers from the keyboard.
Step 3
Rotate the line. To do this, select the top tool of the left column of tools, called the "pointer". Drag it onto the drawn line and double-click with the left mouse button until arrows appear on both sides. Grab these arrows with the mouse and rotate the line as you need.
Step 4
Draw long or short lines. To do this, place the pointer tool on an existing line and click once with the left mouse button. Black squares will appear on both sides. Hook them and guide them in the middle to shorten the line and outward to lengthen it.
Step 5
Draw a colored line. Move the pointer tool over the line and select it with a slight left click. Now select the color from the palette, which is located on the right side of the column. When the color is selected, click the right (!) Button - the line will be painted over. Change the color to any other in the same way.
Step 6
Draw a dotted line. To do this, select the line with the "pointer". Then in the window located next to the window with the choice of line thickness, select the desired dotted line. In the adjacent windows, also select the end tip, i.e. either arrows or other signs.


