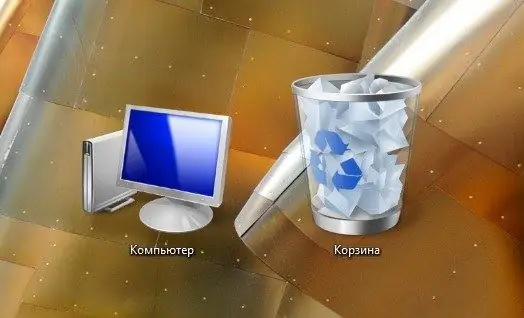
You can return the trash bin icon to the desktop using simple actions available to any user, or by editing the operating system registry, which is not recommended for those who are just learning the basics of computer literacy.

Instructions
Step 1
Perhaps you removed the trash icon from the desktop by accident or, on the contrary, on purpose, when you were setting up the screen, wallpaper, screensaver, etc. If this happened, and you cannot remember how to return everything to its place, proceed as follows. Right-click in a free area of the desktop and select the "Personalize" command from the context menu.
Step 2
On the left side of the window, click the link "Change desktop icons". In the new dialog box, select the checkbox for the Trash item and click OK. The trash can icon should appear on the desktop from now on. If this did not happen, then the part of the registry that is responsible for this action has been changed.
Step 3
To edit the registry, open the Run dialog box from the Start menu, or press the Win (Windows logo key) and R keys at the same time. Enter the regedit command in the input field and press Enter or the OK button. The OS utility application "Registry Editor" will be launched. Here you need to open in the menu located on the left side of the window folders: HKEY_CURRENT_USER, then Software, Microsoft, Windows, CurrentVersion, Explorer and HideDesktopIcons.
Step 4
Having opened the last directory, select the ClassicStartMenu section and, by right-clicking on the line with the value {645FF040-5081-101B-9F08-00AA002F954E}, select the "Change" menu item. A dialog box will appear in which you will need to enter 0 in the "Value" field and click the OK button to make changes. You can close the registry editor and all open applications, and then restart the computer - the trash can icon will appear only after the next boot of the operating system.


