Sometimes a computer user may need to access folders or files contained in them that do not belong to him. In the Windows operating system, this problem is quite solvable.

Instructions
Step 1
Go to the Start menu and select All Programs.
Step 2
Go to Accessories and select Windows Explorer.
Step 3
Use Explorer to find the file or folder to change.
Step 4
Call the context menu by right-clicking on the desired file and go to "Properties".
Step 5
Select the "Security" tab in the "Properties" window that opens and click on the "Advanced" button.
Step 6
Select the "Owner" tab.
Step 7
Highlight a user or workgroup from the list of users in the Change Owner To section (if any).
Step 8
Type the name of the user or workgroup of users in the line "Enter the names of the selected objects (examples)" in the service menu, called by a double click on the field "Other users and groups".
Step 9
Confirm your choice by clicking OK. An optional but recommended next step is to change the owner rights of the subcontainer and objects.
Step 10
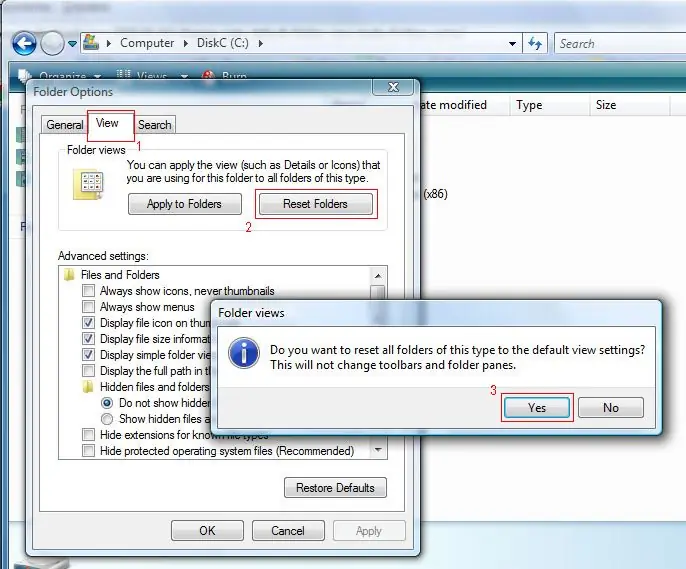
Return to the service menu "Folder Options" and go to the "View" tab.
Step 11
Uncheck the box next to Use Basic File Sharing (Recommended) in the Advanced Settings section.
Step 12
Click the "Apply" button and confirm the selection by clicking the OK button.
Step 13
Go to the "Security" tab.
Step 14
Click OK in the new window with the message - "You do not have permission to view or change the current permission settings for 'Folder Name', but you can take ownership of it or change the audit settings" and click on the "Advanced" button.
Step 15
Select the Owner tab in the new Advanced Security Settings for 'Folder Name' window.
Step 16
Verify that the Current owner of this item: field is set to Could not display the current owner.
Step 17
Select your username in the Change Owner To: field.
Step 18
Uncheck the box next to "Replace owner of subcontainers and objects" and click the "Apply" button.
Step 19
Confirm your choice by clicking OK and wait for the operation to complete.


