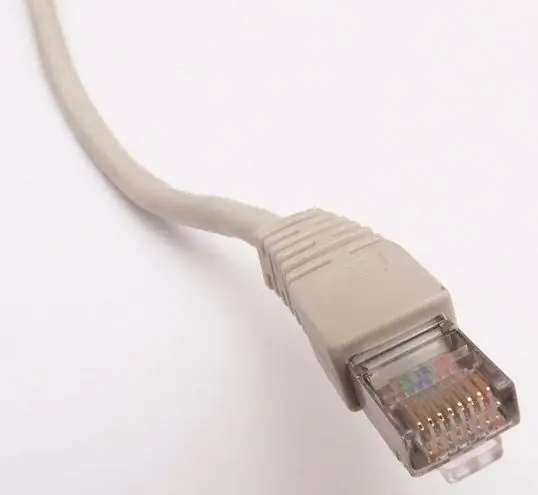
Information technology has recently become more and more accessible. Many people have several computers or laptops with internet access at home. But sometimes users want some resources, such as a printer or a shared movie folder, to be accessible from all home computers.

Instructions
Step 1
Make sure that your home computers are connected to each other via a router or ADSL modem with DHCP enabled, and that the parameters of the network card used are set to automatically receive network settings. Typically, home PCs are configured for a specific user and do not require a password to be entered at startup. In order not to create accounts on each computer and not configure each of them, you must enable the guest account and grant it access to resources.
Step 2
To do this, in the "Start" menu go to "Control Panel-User Accounts-Family Safety-Add and Remove User Accounts". After that, click on the "Guest" account, then - "Enable".
Step 3
The next step will be to unite all computers into a common workgroup. To do this, in the control panel, select "System and Security-System-Change settings-Computer name-Domain name-Workgroup settings".
Step 4
In the window that appears, click "Change", then enter the name of the computer in the group and the name of the workgroup. Moreover, the workgroup for all computers must be the same, and the computer names are different. After confirming, restart your PC.
Step 5
Click on the network connection icon (near the clock, bottom right), then on the inscription "Network and Sharing Center". Then click on "Attached" in the "View active networks" section. Check the boxes in the "Share Libraries and Printers" section.
Step 6
In the "More Homegroup Actions" tab, click on "Change advanced sharing options."
Then open the "Home or Work" section. In the options that open, enable "Network discovery," All shared points and "Recommended settings", disable "Sharing with password protection". Apply changes.
Step 7
Allow all computers on the network to use the installed printer. To do this, click on "Start-Devices and Printers". Right-click on the printer and select Printer Properties from the menu. Check the boxes for "Sharing this printer" and "Drawing print jobs on the client computer" in the "Access" tab.
Step 8
It remains to allow all computers to use the shared movie folder. To do this, find your movie folder and after clicking on it with the right mouse button, select "Sharing-Specific Users" from the menu. In the window that appears, click on the drop-down list of users, then select "All" and click "Add". At the bottom of the window, define the access rights for all users and click "Share".


