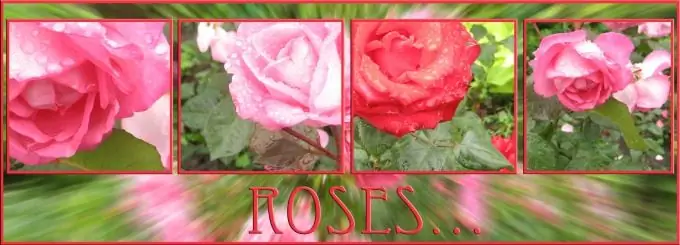
Creative imagination is an important thing when working with images. With a little fantasy, you can find that to combine several photos into one picture, it is not necessary to separate objects from the background through complex manipulations, draw shadows and perform other complex operations. It is enough to choose the general background, adjust the dimensions of the photos and make a stroke.

Necessary
- - Photoshop program;
- - photos.
Instructions
Step 1
Load the photos you will work with into a graphic editor. The Open command from the File menu will help you do this. Click on the icons of the files you need while holding down the Ctrl key and click the "Open" button.
Of course, you can use any images, but the result will be more interesting if you use images that have something in common. These can be four photographs of the same person, animal, object or action. Your photos can be taken at different times in the same place or, conversely, at the same time in different places. The choice depends only on your imagination.
Step 2
Create a new document of any size in RGB color mode using the New command from the File menu. Create a background for your photos in it. To do this, fill the background with a color or texture that matches your photographs by choosing the Paint Bucket Tool from the tool palette. By default, this tool fills the layer with the foreground color. If you want to fill the layer with texture, change the Foreground color in the tool settings panel under the main menu ("Foreground color") to Pattern ("Texture"). Select a suitable texture in the window to the right of the fill type.
Step 3
You can use one of your images as a background. To do this, open the file with this image in Photoshop and drag the image into the window of the created document using the Move Tool. Adjust the size of the background using the Free Transform command. You will find this command on the Edit menu.
Step 4
Drag the photos onto the prepared background using the Move tool. Resize them using the Scale command from the Transform group of the Edit menu.
Step 5
Additionally decorate the layers with a layer style. To do this, click on any of the layers with pictures with the right mouse button. Select Blending Options. Click on the Stroke item. In the parameter settings window, set the color and width of the stroke. Select Inside from the Position drop-down list. Apply the style by clicking OK. Apply this style to the rest of the layers.
Step 6
Sign the series of images. To do this, select the Horizontal Text Tool and make an inscription. The stroke color will look good as a font color.
Step 7
Save the picture in.jpg"


