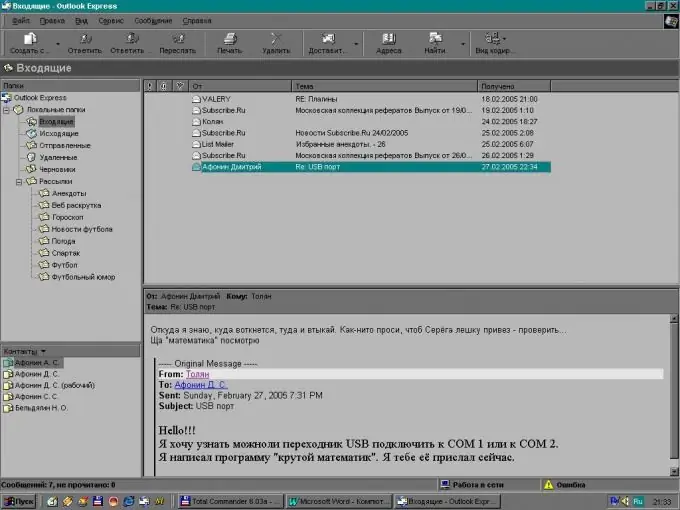
Microsoft Outlook is one of the most popular email programs. Focused mail becomes a vital necessity when a certain threshold of inbound messages is exceeded. Microsoft Outlook allows you to sort your incoming mail according to several parameters.

Instructions
Step 1
Click the paperclip button on the mail sorting bar in the Microsoft Outlook window. This operation will allow you to divide all incoming mail into letters with and without attachments.
Step 2
Specify the "Arrange By" field in the "View" menu in the mail application window.
Step 3
Select "Attachments" from the "Sort by" service menu and enter the necessary sorting parameters.
Step 4
Create a folder structure for emails from different authors. To do this, you need to create rules for automatic sorting of incoming mail.
Step 5
Select one of the letters to be moved to the named folder and call the context menu by right-clicking on the letter line.
Step 6
Select the "Create Rule" menu item.
Step 7
Select the "From" checkbox in the "When you receive a message that meets the following conditions" section of the "Create Rules" window that opens.
Step 8
Select the Move Item To Folder check box in the Do the following section of the Create Rules window.
Step 9
Click the Select Folder button under Do the following in the Create Rules window.
Step 10
Specify the required folder in the "Folder" list in the "Rules and Alerts" service window. If the required folder is missing, create it by clicking the "Create" button in the "Rules and Alerts" service window.
Step 11
Click OK.
Step 12
Select the checkbox "Run this rule for all current messages" in the "Successful completion" window that opens and confirm your choice by clicking OK.
Step 13
Select the Move item to folder check box in the Do the following steps in the Create Rules window to create sorting options for individual words and phrases in mail messages.
Step 14
Click the Advanced button.
Step 15
Select the required parameters in the "Rule Wizard" window that opens.
Step 16
Enter the desired phrase or word in the "Enter a word or phrase to search in the sender's address" field of the new "Search Text" window and click the "Add" button.
Step 17
Confirm your choice with the OK button.
Step 18
Continue clicking Next on the Rules Wizard until you become inactive (gray).
Step 19
Select the check box next to Run this rule for messages that are already in the ServiceDesk folder of the Rule Wizard.
Step 20
Click the Finish button.
21
Apply the same procedure to create the required number of required sorting rules.


