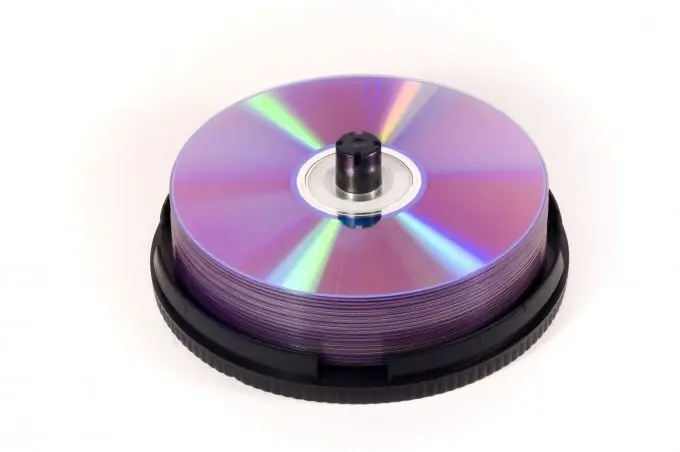
A few years ago, the arrival of a photographer to a school or kindergarten was regarded as a holiday. Now every family has a camera, and a huge number of pictures are deposited as a dead weight in the computer's memory. And when you want to look at photos from some event, it can be quite problematic to navigate the accumulated sea of pictures. To make it easier to find the desired picture, you just need to save separate folders with photo files on disks.

Necessary
computer, DVD, CD, Nero program
Instructions
Step 1
If there are a lot of photos, it will be better if you burn them to a DVD. This can be done using the Nero program. Open any version of the program, for example Nero Express and select the "Data DVD" menu item.
Step 2
In the window that appears, click the "Add" button. The program will prompt you to select a folder or pictures from a folder that you would like to save to disk. If you have made your choice, click Next.
Step 3
In the next window, you can write the desired disc name, for example, "My Photos", as well as set the required write speed. Better if this figure is equal to 8x (11,080 Kb / s). This is a universal write speed, which then allows you to read information from this disc on any medium. Click Record. As soon as the program completes the task, the message "The recording was successful" will appear, the drive will open and offer to pick up the disc. Experts advise to immediately check how he signed up and try to open several photos from the disk.
Step 4
If you decide to use a CD, a dialog box will open when booting, where the system will prompt you to either open the disc for burning, or do nothing with it. Click the first option. This will start the CD Burning Wizard.
Step 5
In a separate window, open the folder with photos you need and select "Copy all objects to CD" from the menu on the left. If you do not need all the photos, first select the desired images with the mouse, and then click this option.
Step 6
Using the action combination "My Computer" -> "CD / DVD-drive", open the disc. In the central part of the window, you will see files prepared for writing to disk. On the left side of the window, click Burn Files to CD.
Step 7
The "CD Burner Wizard" will open, with which you can easily and easily burn your photos to disc. Give the name you want to avoid confusion. Adding data to the disk image will begin, preparing files for recording, and the recording itself.
Step 8
At the end of the recording, the "Wizard" will warn you about the successful completion of the task. The disc is burned.


