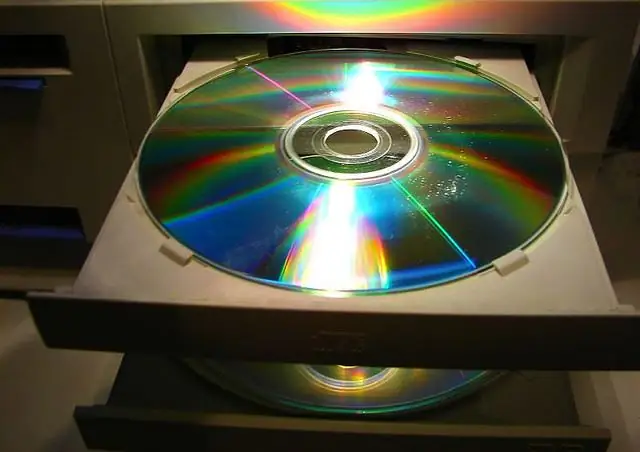
Creating a Windows boot disk is not as difficult as it sounds. It just takes a little patience and time. For recording, you need the following - the xpboot.bin file, which will be the bootloader. And also a program for burning discs, such as Nero Burning Rom (version 5.5.7.8).

Necessary
computer, disc burning software, disk, windows
Instructions
Step 1
Decide on the type of installation. It depends on the level of computer proficiency. For beginners, there is a way to create a boot disk - a simple download from specialized sites, but this has a small drawback, since such a disk contains a minimum number of applications - the most popular and used.
Step 2
Run the program. It can be any version of Nero, or any other disc burning software. Download the xpboot.bin file from the Internet. After downloading, create a new project by selecting CD-Rom. Next, pay attention to the fact that the work is carried out with the xpboot.bin file, which should be downloaded in advance. Specify the path to the specified file in the Image File item. Also don't forget to select "No Emulation" and change the value to 4 in the "Number of loaded sectors" section.
Step 3
Check the value in each tab. In the Russian version of the operating system, enter "WXPVOL_RU" in the Volume Label, System Identifier, Volume Set, Application fields. The next tab, in which you need to change some items, is Burn. Here we definitely mark Write, Finalize CD, JustLink and Track-At-Once.
Step 4
Wait for the disc burning process. After all the settings above, click "new". A guide will appear in front of you. In it, find the root folder of an existing disk. At the root, there must be a folder i386, files WIN51, WIN51IP, WIN51IP. SP1, WIN51IP. SP2, win51ip. SP3 and BOOTFONT. BIN. You can add anything you want to the existing files. For example, drivers, required programs.
Step 5
Complete the project. To do this, drag files and folders into CD write. Finally, just start the disc burning process. Make sure that the project is finalized and that no further burning is possible on disc. This completes the creation of the boot disk.


