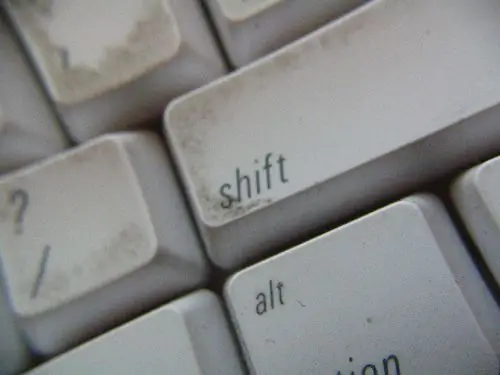
If your keyboard has lost its presentable appearance, and its keys began to work worse due to the dust accumulated under them, do not rush to run to the store and buy a new one, because the old keyboard can be brought into perfect condition with improvised means.

Instructions
Step 1
First you need to disconnect the keyboard from the system unit. It is necessary to remove all the keys, but before doing this, it is advisable to photograph them so that the computer keyboard (letters and symbols) is clearly visible in the picture. This will allow you to easily reinstall the buttons after cleaning, without confusing the location.
Step 2
It is better to start from one edge, gradually moving towards the center. The screwdriver should be slipped under the key closer to the center and the pressure should be directed vertically upward. Typically, the keys are secured to the keyboard case with special snap-on elements, so a little force will be enough to pull them out. Wipe the removed keys with an alcohol solution and dry thoroughly by spreading them out on a paper towel or newspaper.
Step 3
Turn the keyboard base over and gently tap to shake out any dust that has accumulated there, then vacuum the keyboard base and wipe it with an alcohol solution. Dry the base.
Step 4
When all the parts cleaned of dirt are dry, you can start assembling. Open the photo of the computer keyboard with the arrangement of the keys, and according to this "cheat sheet" insert the keys into the base, pressing slightly on them. Start at one end to avoid confusion.
Step 5
Connect the keyboard to the system unit. That's it, now the keyboard can be used.


