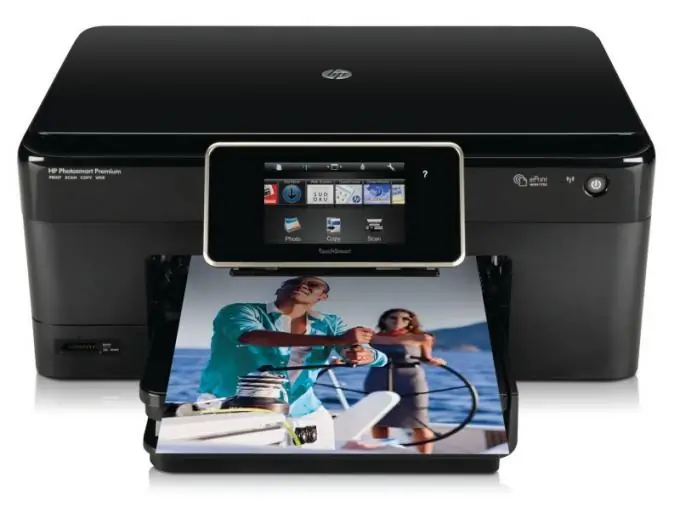
The main task of the user connecting a printer or MFP is to provide the most convenient work with this device. To do this, you need to take into account some subtleties.

Instructions
Step 1
Take the printer out of the box and place it in a location convenient for you. It is recommended not to place printers too far away. Ideally, this device should be within arm's reach, without interfering with normal PC work. Connect the printer to AC power.
Step 2
Connect the equipment to the computer. Modern printers and MFPs are connected using a USB cable. Turn on your computer and printer. Wait a moment to let the operating system detect the new hardware. After that, the process of automatic installation of drivers should start.
Step 3
Insert the disc that came with your printer accessory kit into the DVD drive and launch it. Install the software and drivers provided. If no such disc is available, go to the HP website at
Step 4
Enter the model name of your printer in the required field and click the "Search" button. Select the software suitable for your operating system from the options provided and download it. Install the selected program.
Step 5
If you need to provide access to the printer to other users, such as the owners of computers that are part of your network, then make certain settings. Open the Change Sharing Settings menu located in Network Center (Windows 7).
Step 6
Activate the "Turn on file and printer sharing" item. Now click the "Start" button and select the "Devices and Printers" menu. Right-click on the desired device and select "Printer Properties". Click the Access tab and allow other users to use this equipment. Save your settings and restart your computer.


