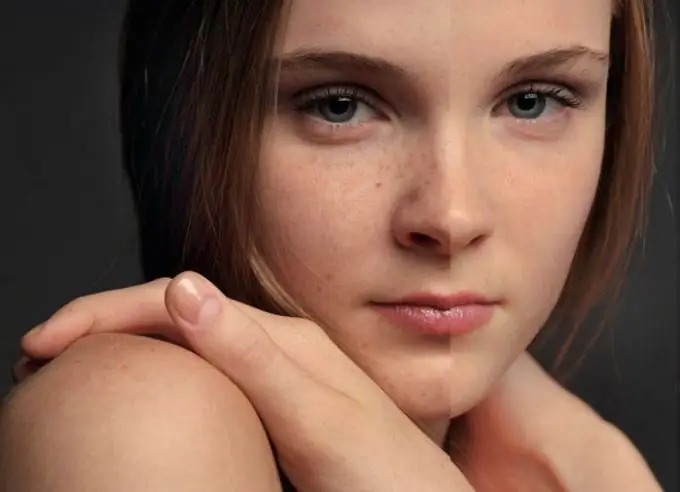
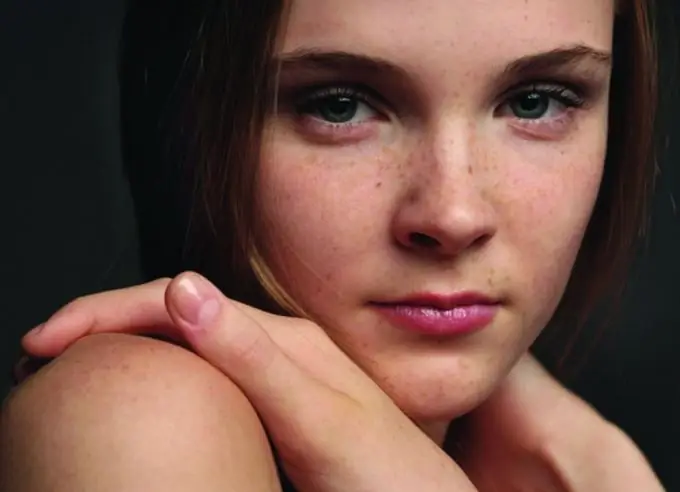
Cheerful "sun" spots on the nose and cheeks are perceived differently. Someone they are quite happy with, someone is forced to think about how to get rid of them. At least in the photo. It's not difficult to do this in the photo. For this there is a program "Photoshop". Even a "teapot" can remove freckles in Photoshop.

Necessary
- Photo with freckles,
- Adobe Photoshop program
Instructions
Step 1
First you need to open the image in Photoshop.
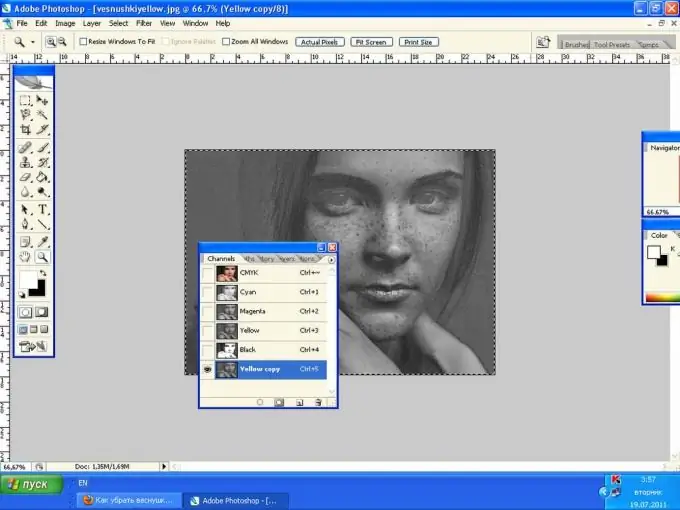
In order to notice a large number of freckles, you need to find and open the Yellow channel. To do this, you need to convert the image to CMYK, because the yellow channel is visible only in this image. Find the yellow Channel in the channel palette and click on it with the mouse. After that, a huge number of well-visible freckles will appear on the image, this is what you need.

Step 2
Now we need to create a new layer with a yellow channel. To do this, press the hot keys Ctrl + A, as a result the entire image will be selected. Then you need to press Ctrl + C and copy the selected channel to the clipboard. You will need to paste the copied one a little later.

Step 3
Since the color channel is taken from CMYK mode, there are many color changes to come. But they can be circumvented. To do this, go to the History palette and click on the first step, i.e. to the original image.
Then you need to press Ctrl + V, and now the previously copied image will be inserted, in black and white. As a result, a new layer with a yellow channel is formed.
Step 4
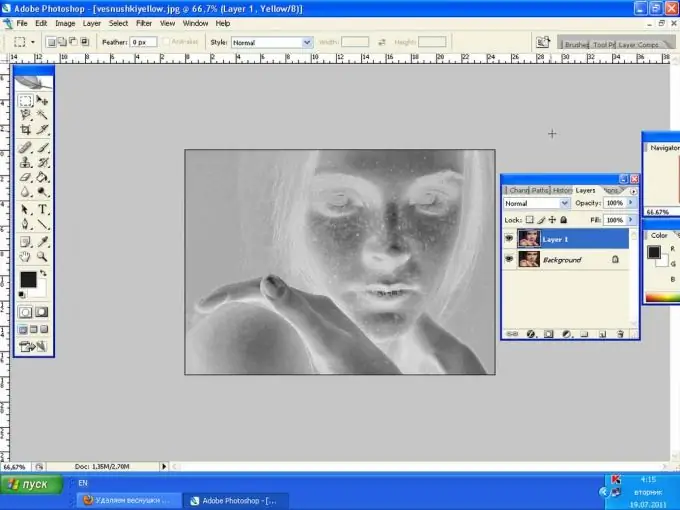
Now, directly, freckles should be removed. To do this, you need to invert the layer. The shortcut keys Ctrl + I will help with this. So the layer is inverted.

Step 5
Next, blend the layer. Therefore, you need to change the Blending Mode to Overlay and set the Opacity so that the freckles disappear.
The result is a skin "cleansed" of freckles.
This effect can be applied to all exposed parts of the face. To do this, apply a layer mask, and then fill it with black by clicking on the photo.
Now, having chosen white as the main color, and a brush of medium hardness, you need to paint over the newly appeared freckles. In the process of work, the layer mask must be activated. It is better not to touch the hair and additional details.
At this point, the work can be considered completed.


