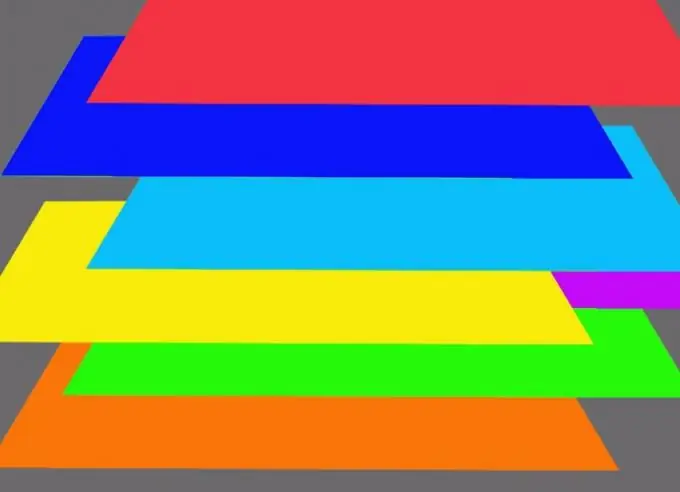
The fact that Photoshop supports working with layers allows you to edit the contents of one layer without touching the images on the other layers. Layers can be added, removed, swapped, duplicated, and glued. The main tool for working with layers is the layers palette, which by default is located in the middle of the right side of the program window.

Necessary
Photoshop program
Instructions
Step 1
For correct work with layers, open the layers palette. It should be visible by default, but in case it is not visible, click on the Layers item on the Window menu.
Step 2
One of the basic operations with layers is copy and paste. To copy an image and paste it as a layer into another document, select the image with the All command from the Select menu. To copy the selected picture, use the Copy command from the Edit menu. You can paste a new layer by clicking on the document window and applying the Paste command from the Edit menu.
Step 3
To perform any actions with the content of a layer or layers, you must specify to which layer the changes will be applied. To do this, the layer must be activated by clicking on it with the mouse in the layers palette.
You can select several layers at once by clicking on them while holding down the Ctrl key. If it turns out that the required operation cannot be performed with several layers at once, the command to start this operation will be deactivated in the menu.
Step 4
Layers in Photoshop can be duplicated. This operation is often used to create shadows and reflections. In order to duplicate a layer, make it active and use the Dublicate Layer command from the Layer menu.
Step 5
In the case when you need to hide part of the content of one layer behind the image lying on another layer, change the order of the layers. To do this, you can use the commands from the Arrange Layer group, or you can move the layers with the mouse. Drag the layer with the image, which should completely or partially overlap the contents of the lower layers, to the top.
Step 6
You can change the blending mode of layers. This technique is used when creating collages for texture mapping. If you need to change the blending mode of a layer, activate the layer whose content will interact with the contents of the visible layers and select the desired blending mode from the Blending Mode drop-down list. The list can be seen in the upper left corner of the layers palette.
Step 7
If one of the layers bothers you, you can delete it by activating the layer and applying the Layer command from the Delete group of the Layer menu. Instead of deleting a layer, you can temporarily hide it by clicking on the eye icon in the layers palette. The content of the hidden layer cannot be changed.
Step 8
In addition to image layers, there are adjustment layers in Photoshop. If you need to apply any filter to images that are visible in the document window, but are on different layers, create an adjustment layer using the New Adjustment Layer command from the Layer menu and select the contents of this layer from the list. The filter on the adjustment layer only affects the layers below it.
Step 9
The contents of layers can be merged into one layer using the Merge Down command from the Layer menu. This will create one layer from the active layer and the layer below it.
Step 10
When the image is finished, the layers can be merged to reduce the file size. This is done by the Flatten Image command from the Layer menu. However, if you are going to edit this image again later, save the file without merging the layers, in psd,.png"


