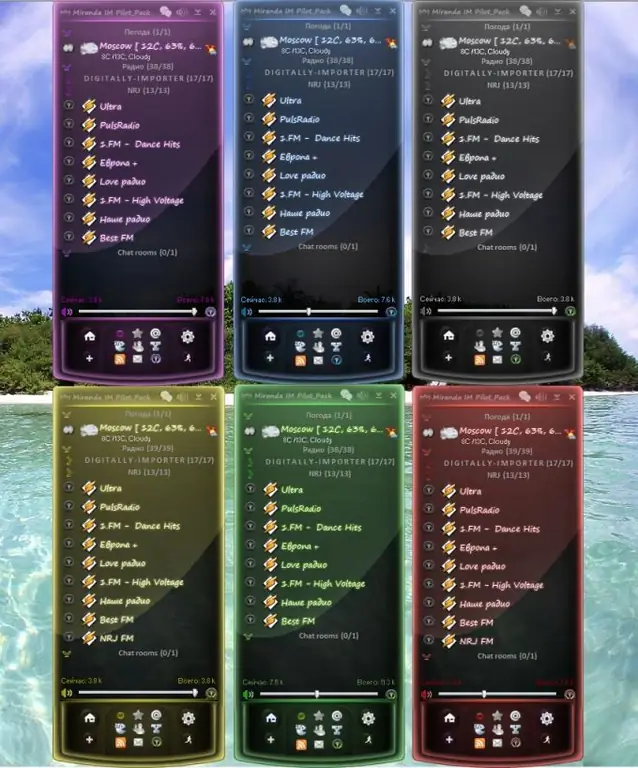
The multi-protocol client Miranda enjoys well-deserved popularity among users. However, setting up Miranda is a bit tricky due to the abundance of options and plugins. To make it easier to get used to the program interface, it is recommended to perform a minimal client configuration.

Necessary
Miranda IM
Instructions
Step 1
Download the desired version of Miranda from the official website miranda-im.org.
Step 2
Confirm your agreement with the terms of the license agreement by clicking the I Agree button in the Miranda Setup window.
Step 3
Check the Normal Installation (recommended) field to install the client on your computer, or the Portable Installation field to download the program to a removable disk.
Step 4
Select the folder to install the Miranda client on your computer hard drive in the new dialog box.
Windows 7 and Windows Vista users are advised to change the folder location to correctly display the program's operation.
Step 5
Confirm your selection with OK and click Next to proceed to the next setup dialog.
Step 6
Use the Install Start Menu Shortcuts checkboxes to install an application shortcut in the Start menu and Install Desktop Shortcut to install the program icon on the desktop.
Step 7
Click the Install button and wait for the installation process to complete.
Step 8
Launch Miranda and click the Create button in the Select or create Miranda IM profile window.
Step 9
Click on the "+" button in the lower left corner of the Accounts dialog box and enter the desired username in the Enter account name field in the Create new account sub-window that opens.
Step 10
Select the required protocol in the Choose the protocol type field and press the OK button to confirm your choice.
Step 11
Enter your ICQ number and password in the ICQ Number and Password fields of the window that opens, or select Create a new ICQ account to create a new account.
Step 12
Click OK to confirm the command.
When creating a new account, the user will be redirected to the registration page of the official ICQ website.
Step 13
Download the Russification file, unpack it and move the langpack_russian file to the program folder for more convenience in working with the Miranda application.


