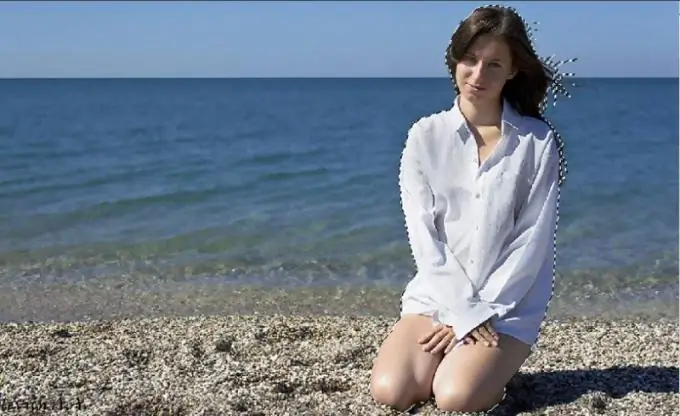
Collages often require moving objects to a different background. It will be funny to place your figure on the shore of the blue sea or in a cage with a lion, replacing the boring reality in the form of an office or an apartment.

Instructions
Step 1
Before starting work, duplicate the photo so that all changes are made on a new layer - in this case, the main image will not be affected. Use the keyboard shortcut Ctrl + J or the Duplicate Layer command from the Layer menu.
Step 2
The selection tool you choose depends on the background color and outline of the person's shape. If the background color is quite different from the selected object, it will be convenient to use the Magic Wand Tool ("Magic Wand"). On the property bar, set the parameters - brush size and tolerance (Tolerance), i.e. the difference between shades of color that the tool will ignore. The lower this indicator, the more selectively the "Magic Wand" acts.
Step 3
Click on the photo around the human figure. To summarize the selections, on the property bar, click Add selection. Change the brush size and tolerance as needed. After all the background around the shape is selected, press Ctrl + I or use the Inverse command from the Select menu. To cut out a shape, use the keyboard shortcut Ctrl + X.
Step 4
You can use the tools from the group L - Lasso Tool ("Lasso") and the Magnetic Lasso Tool ("Magnetic lasso"). The "magnetic lasso" is very convenient to use when the selected object is noticeably different in color from the background. In this case, you simply click on the outline of the shape, release the key and trace the object - the tool seems to "stick" to the outline and itself determines where the background is and where the shape is.
Step 5
If the color shades are not too different, in difficult places click on the selected object, setting the reference color. After the selection is closed, use the hotkeys to cut out the shape.
Step 6
The Lasso tool doesn't have such complex settings - you have to trace the object yourself. Press Ctrl + Bacspace to undo incorrect steps.
Step 7
It is very convenient to select image elements in the quick mask editing mode. Press D to set the default colors and Q to switch to the desired mode. Select the Brush Tool ("Brush") and start painting over the figure of the person. Change the hardness and diameter of the brush depending on the outline of the object. You will see how the image is covered with a red transparent film - a protective mask.
Step 8
To remove this film, paint over the area with a white brush. After you have completely painted over the shape, press Q again to return to normal mode. Invert the selection and press Ctrl + X.


