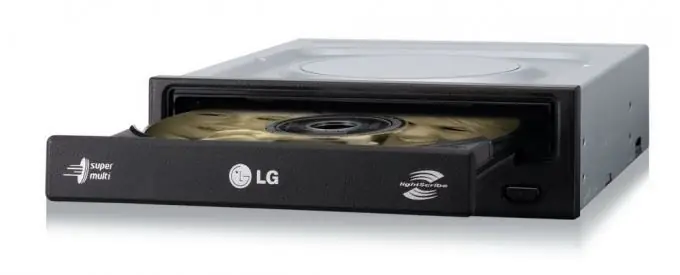
Each user of a personal computer has a set of programs that he uses constantly or from time to time. Reinstalling the system to the hard disk may overwrite programs and render them inoperable. To protect yourself from such situations, professionals recommend storing archives of installation files on your hard disk or DVD. Of course, it is more efficient to write program archives to disk so that in any situation you can reinstall the program.

Necessary
Small CD Writer software, blank DVD disc
Instructions
Step 1
Use the Small CD Writer to write program archives. This utility is not as popular as Nero, Alcohol, etc. Differs in small size and ease of use. Despite the presence of the word CD in the name of the program, you can also burn DVDs. The utility does not require installation and fits into one file with the exe extension, which must be launched.
Step 2
After starting the program, you need to add the program archives to the utility window. To add files to the program window, you need to find the archives, press Ctrl + A (select all), hold down the left mouse button and drag into the program window. If you have not yet inserted a blank disc into your drive, do so. The disk full bar will be displayed on the right side of the window. Below the bar you can find detailed information about the used disk space.
Step 3
Before burning a disc, you must select the drive to which the recording will be made, if you have several of them. If you don't have a blank disc, you can use a DVD-RW disc. To clean this disk, click the Clean button on the right side of the window.
Step 4
To start recording, click the "Record" button next to the "Clear" button. In the window that opens, select the "Create a new session" item, and also select the minimum disc recording speed. This is done for better recording of the disc. Then click the "Burn" button.
Step 5
The end of the recording can be considered the appearance of a window with the message "Recording service information and closing the session". After the disappearance of this window, the disc will be loaded automatically, the action selection menu will appear on the screen. To view the recorded information, click on the "Open folder to view files" link.


