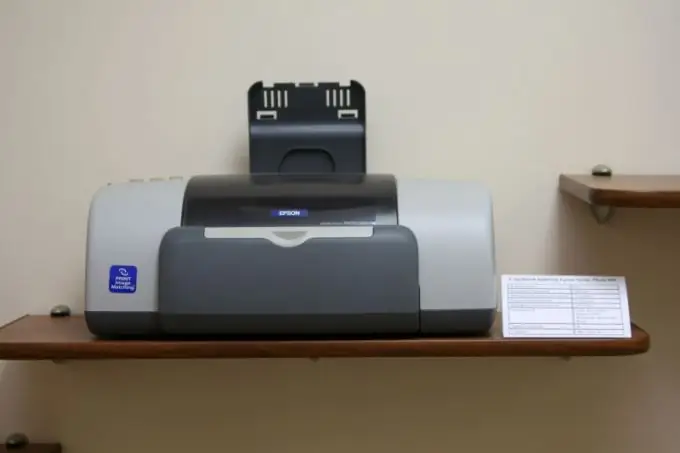
A printer color profile is a file that has the extension icc or icm. It is intended for color correction. Typically, these files are found in printer installation kits. How can you create a color profile for your printer that fully suits your needs?

Instructions
Step 1
Use a ready-made color profile to create a new one. It is always more difficult to create from scratch than to correct. Therefore, take the standard color profile that came with your printer, or download an updated version from the Internet. Perhaps it will satisfy all your requirements, which in itself will save you from the need to create a color profile for the printer.
Step 2
Check out the new color profile. To do this, you need to install it. Do the following. Go to the Start button menu, then Control Panel. In the window that appears, find the "Printers and Scanners" icon. Double click on it with the left mouse button. You will see a window containing a list of all printers connected to your computer.
Step 3
Select the desired device, right-click on it. Select Properties from the context menu. You will see the printer settings panel. Find the Color Management tab. Find the "Add" button. To make a color profile, click on it, then select the desired file. The color profile will be added.
Step 4
Use the Color DarkRoom software to create your own color profile to suit all your needs. But please note that this program is an application for Adobe Photoshop.
Step 5
Therefore, first install Photoshop, and only then install the Color Dark Room program. It will be useful if you need to adjust the color profile of the printer for a different type of paper on which one or another color is poorly displayed, and also, using an automatic diagnostic system, it will help you choose the optimal color profile for your printer. Using the advanced settings of this program, you gain great opportunities for color adjustment and can easily adapt to almost any print media.


