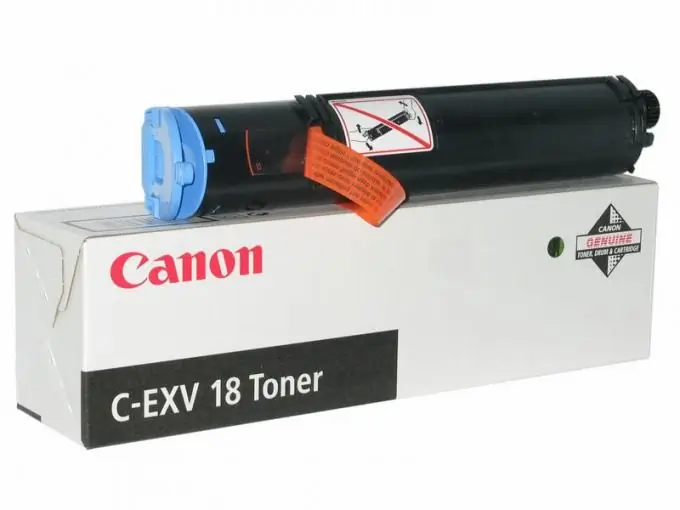
The main profit for Canon printer manufacturers, as well as for other manufacturers of similar office equipment, comes from sales not of printers themselves, but of cartridges for them. And sometimes the prices for Canon cartridges reach 40% of the cost of basic printer models. What if you have to type a lot and often? There is a way out of this situation - you can try to refill the cartridge yourself.

Necessary
- - flat small screwdriver,
- - a clean dry cloth,
- - toner,
- - funnel,
- - paper
Instructions
Step 1
Prepare to refill the cartridge Lay out a large bag or newspaper to avoid staining the tabletop. Wear old clothes that you won't mind getting toner stained.
Step 2
Place the Canon cartridge on a table with the drum unit facing up with the four cartridge clips facing you.
Step 3
Pry each of the four plastic clips in turn using a flat-blade screwdriver. Start with the middle clips. Insert a screwdriver under the latch. Press on the latch with your finger while pushing it forward. At the same time, turn the screwdriver and unfasten the clip. Try to do this carefully so as not to break the latches.
Step 4
Locate the toner agitator drive and use a flat screwdriver to disconnect and slide it away from the gear.
Step 5
Find another clip next to the agitator drive and, using a screwdriver as a lever, slightly lift the top half of the cartridge.
Step 6
Locate the latch on the end of the cartridge where the plastic drum plug is located, insert a screwdriver under the clip and twist slightly. At the same time, use your fingers to separate the cartridge halves.
Step 7
Do the same for the other side of the cartridge where the metal pin is.
Step 8
Divide the cartridge in two. Take the top half of the cartridge. Roll up a piece of paper and slide it between the magnetic roller and the cleaning knife. Rotate the magnetic shaft and inspect carefully. If it has circular stripes, clean it again with paper.
Step 9
Take the bottom half of the cartridge and slide out the charge roller without pulling out the roller sleeve. Open the drum shutter and turn the cartridge over sharply. Tap on it from above with a screwdriver so that all the mining spills out.
Step 10
Take a rag and gently wipe under the charge roller and toner hopper. If possible, use a vacuum cleaner to clean the cartridge.
Step 11
Insert the charge roller. In doing so, it is recommended that you first insert the side with the metal contact to avoid accidentally bending the contact.
Step 12
Add toner. Shake the toner before adding toner.
Step 13
Align the halves of the cartridge. Press down firmly on the left and right side of the cartridge at the same time and snap it into place.
Step 14
Fasten all remaining latches. Engage the toner agitator drive with the gear.
Step 15
Insert the cartridge into the machine and check its operation.


