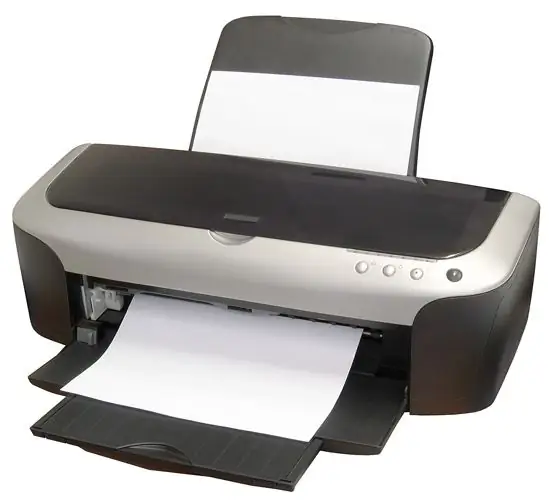
A printing device today is already quite a common attribute not only of an office, but also of a home computer, and manufacturers of operating systems have provided the simplest ways to connect a printer to a computer. Therefore, the procedure for adding this peripheral to the hardware set connected to your computer is straightforward.

Instructions
Step 1
Find a comfortable place to place the printer. At the same time, keep in mind that the printer will need to be connected with a cable to a computer and to a power outlet, that the printer has pull-out trays and openable covers, that you should not place devices of this kind near heating radiators.
Step 2
Connect the network cable supplied with the printer first to the device and then to a power outlet. In the same sequence, connect the cable connecting the printer to the computer. As a rule, a printing device is connected to a USB port, the other option (LPT port) is practically not used today. Use one of the USB ports on the back of the system unit if the printer is connected to a personal computer and not to a laptop - this way you will leave free USB connectors on the front panel for other devices that often have to be connected and disconnected (mobile devices, players, flash drives etc.).
Step 3
Turn on the power of the printer using the corresponding power switch on its body. After that, the operating system of the computer must detect the new device, identify it and install the drivers from its database. If not, install the driver yourself using the optical disc purchased with the printer. If there is no such disc, download the required file from the website of your printing device manufacturer.
Step 4
You can use the appropriate wizard available in Windows for installation. To do this, for example, in Windows 7, open the menu on the "Start" button, select the "Control Panel" item, click on the "Hardware and Sound" link and click on the "Printers" link.
Step 5
Click the "Add Printer" button and select "Add a local printer" in the opened window of the installation wizard. Check for the check mark next to Use an existing port on the Select Printer Port page and make sure the recommended printer port is selected. Then click on the "Next" button.
Step 6
Select your printer manufacturer and model on the Install Printer Driver page and click Next again. When the wizard completes the installation, click the Finish button.


