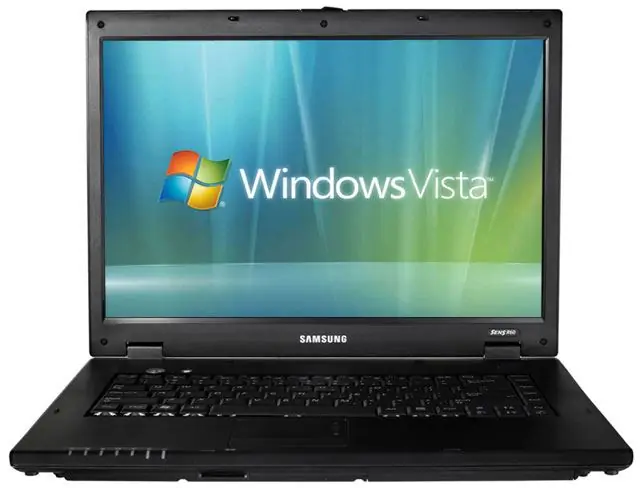
From time to time, it is necessary to clean computers and laptops from dust and dirt accumulated inside them, to clean the keyboard from cookies that have got there, or simply to change the configuration. Disassembly of many laptop models takes place in different ways.

Necessary
- - screwdriver;
- - not a sharp knife.
Instructions
Step 1
Unplug the laptop from the power source, remove the battery, and disconnect the power wires. Unscrew all fasteners from the back of the case.
Step 2
Remove the cover from the hard drive section, it is the largest there. Pry it off with your fingers or a mild knife, carefully so as not to damage the surface. Unscrew the hard drive fasteners, remove it by disconnecting the wires.
Step 3
Remove the drive in the same way. Be especially careful with him. There will be another fastener under it. Unscrew it. Remove the RAM modules (this is not necessary), unfasten the Wi-Fi antenna.
Step 4
Turn the laptop upside down, unscrew the screws from the panel above the keyboard. Pry it gently until the mount clicks into place. Be careful, this is a very fragile part. Next, turn the laptop over. Carefully remove the keyboard. It is not recommended to disassemble it completely by buttons, since it contains small fragile elements that are very easy to break or lose.
Step 5
Remove the panel with the power buttons using a non-sharp knife, in the same way unclip the clips on the side of the battery compartment, of which there are only 4. Turn the laptop over.
Step 6
Remove the panel that was located under the keyboard by prying it slightly with a screwdriver and unscrewing the clips. You will see two more hidden fasteners, unscrew them. Disconnect the touchpad, speakers and screen carefully, be especially careful with the cables and cables of the devices - many of them will then be difficult to reach.
Step 7
Turn the laptop over again with the back cover up, flip off the main panel, take out the cooler and clean the computer from dirt and dust, for this you can use a vacuum cleaner or other means convenient for you. The assembly takes place in the reverse order.


