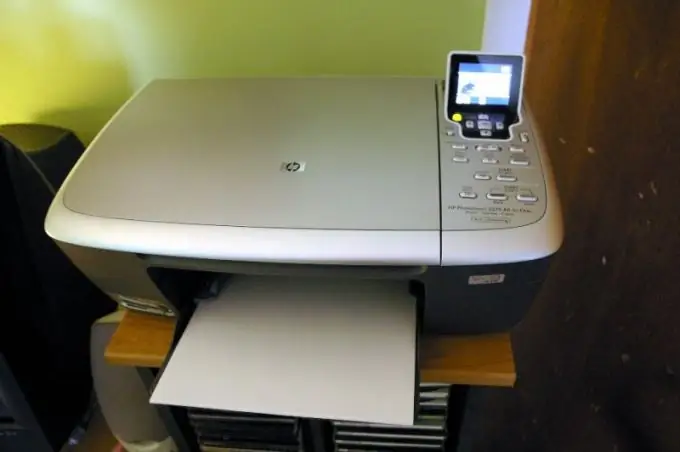
The presence of a scanner makes life much easier for a user who often has to copy texts and images. Files obtained by scanning can be edited, stored on a computer or posted on the Internet. Working with this type of duplicating technique can be enjoyable and interesting if you install the right software and properly configure the scanner itself.

Necessary
- - computer;
- - scanner;
- - Adobe Photoshop or another image editor;
- - Abbyy FineReader.
Instructions
Step 1
Install the software. Many programs are suitable for scanning images, including free ones. The principle of operation is the same for everyone, so you can master the process using the example of Adobe Photoshop. For text files, there is Abbyy FineReader. This is a paid program, but there are corporate versions that cost significantly less. If you are going to work a lot with texts, you cannot do without such support.
Step 2
Before connecting the scanner, make sure there are drivers for it. If the device is new, a driver disc is included in the package. If there is no disk, go to the manufacturer's website, where there should be drivers for all models produced by this company.
Step 3
Connect the scanner. This can be done in two ways. The most commonly used installation is a local scanner, when the device is connected directly to your computer. This only requires a USB cable. It is usually included in the package. Any other cable with appropriate connectors will do. Insert one connector into the corresponding slot on the back of the device. The second connector connects to a USB port on your computer. Remember that the system must detect a new device.
Step 4
Sometimes you need to install a network scanner. In the same way as in the first case, connect the scanner to your computer using a USB cable. Then, through the "Start" button, go to the "Control Panel", and in it find the "Network" function. Through the "Network Control Center" go to the "View network computers and devices". Find your scanner in the general list of devices and click the "Install" button. The installation wizard will open in front of you. Follow his prompts. The last button you have to click on is Done. After that, you can work with the scanner.
Step 5
Open the program. Find the "File" tab in the main menu. In different programs, the process is initiated by functions with different names. It can be just "Scan", "Get an image from a scanner", etc. In some older versions of Adobe Photoshop, this function is called through the line "Import image". Sometimes you need to choose the type of scanner. In any case, a scan window should appear in front of you.
Step 6
Set the required parameters. The interface can be different, but in any case there are windows in which you need to set the image type (color or black and white) and resolution. The program can also offer to set the style. The options depend on the purpose of the scan and on the quality of the image itself.
Step 7
Sometimes it doesn't make sense to scan the entire document. In this case, the "Preview" option is very useful. The corresponding button is located under the scan window. By clicking on it, you will find out how the document will look after scanning. Select the desired area or the entire document. Click the "Scan" button and the process will start.


