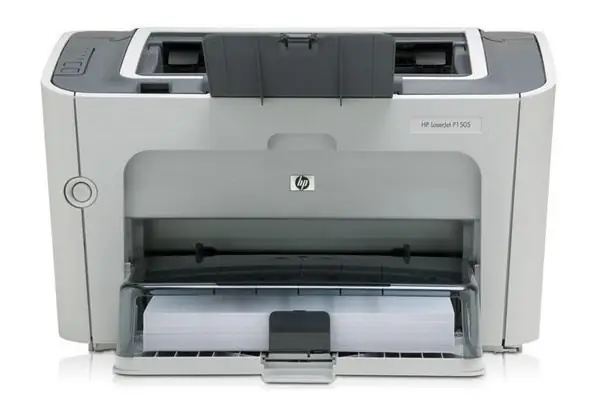
Modern printers can print not only text, but also graphics, tables, drawings and even high-quality photographs. Although all printers are versatile and can print different file formats, printing different documents requires certain settings to be made to optimize print quality for each specific file type.

Necessary
Computer, printer
Instructions
Step 1
You can send a file for printing using the menu of any program with which the file is open. To do this, just click on the "File" tab in the top menu of the program. A list of possible actions will appear, among which select "Print".
Step 2
The file does not start printing immediately. After you clicked "Print", the printer software menu appears. In other words, the program through which the print parameters of the selected file will be processed.
Step 3
In the first window of the program, configure the settings for printing the file. You can set the number of pages to be printed, page numbers, choose to print odd and even pages, or print selection.
Step 4
Then select the "Properties" and "Home" tabs, and then - "Print quality". If you want to print photos, respectively, click on the quality option "High" or "Photo" (depending on the version of the printer software). Also select the paper size standard here. For photography, this is Photo Paper, for plain text, Plain Paper. Check the box next to the "Preview" line.
Step 5
Go to the "Page" tab. Here select the type of print: "Portrait" or "Landscape". Also set the Number of Copies option. If you want to print the file in one copy, do not change this parameter.
Step 6
The main print parameters are now set. Click OK. You will be taken to the program menu, where also click OK. Then the preview menu will appear. A window will pop up showing exactly how the already printed file will look. If you are not satisfied with something, you can click Cancel and change the desired print settings. If everything is ok and they suit you, click "Print". The page will now be printed on the printer.


