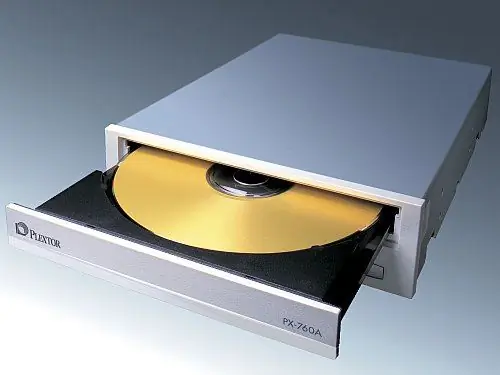
An unfilled DVD disc can be added to until all of its capacity is occupied by various files. However, this can only be done if the disc was not finalized during the first recording.

Instructions
Step 1
Insert the DVD into the drive and make sure it is readable by the device. Then start any CD burning program and select the data disc burning mode. If no program for burning optical media is installed on your computer, then use the standard disc burning wizard, or download and install a free program for burning CD Burner XP by downloading it from the official websit
Step 2
Make sure the DVD is not finalized. The disc burning software will detect this by itself. In case the disc is finalized, CD Burner XP will detect it as unusable. If the disc is not finalized, then after selecting the recording mode of the disc with files, a window for adding files will open.
Step 3
On the right side of the Add Files window, open the folder containing the files to burn to the DVD. Copy or drag them to the left side of the add files window. At the same time, watch the bar-indicator of the remaining disk space, which is located at the bottom of the window. Initially, it will show the amount of space used on the disk and, as files are added, move to the right. Once you've copied all the files you need to the DVD, make sure you don't add too many files. Then you can start burning the disc.
Step 4
Click on the "Burn" button located at the top of the add files window. After that, the process of physically writing data to disk will begin. Do not under any circumstances interrupt the burning process, otherwise the data will not be written to the DVD disc and it will be damaged. When the burn is complete, the drive will automatically open. To check the recording, insert it back and make sure that all files are added to the DVD.


