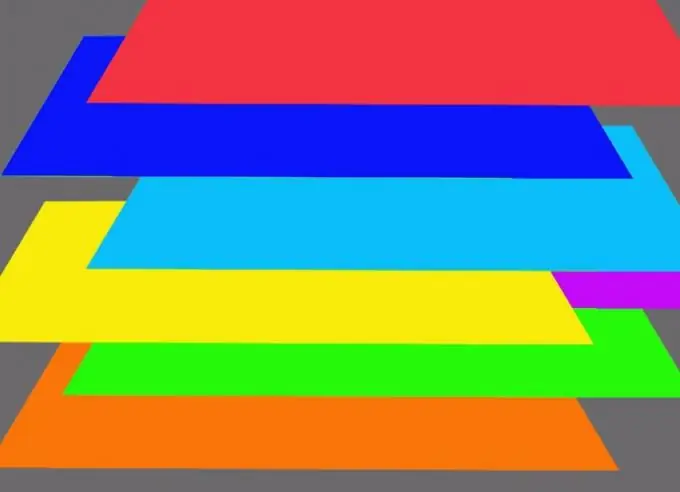
Layers in the graphics editor Photoshop are something like a stack of glass plates, on each of which an image is applied. The program allows you to change these plates in places, edit any of the layers without touching the rest, and combine them into groups.

Necessary
Photoshop program
Instructions
Step 1
The main control of layers is done through the Layers palette, which can be called up with the Layers option of the Window menu. Having loaded the.
Step 2
Many editing techniques cannot be applied to the background layer. To unlock the layer, use the Layer from Background option in the New group of the Layer menu. In addition, this option can be found in the context menu that appears after clicking on the layer with the right mouse button.
Step 3
To work with an image consisting of a single layer, it is not necessary to turn the background into a layer. It is enough to copy the layer using the Layer via Copy option from the same New group. A similar result will be obtained if you apply the Duplicate Layer option from the context menu.
Step 4
Layers, with the exception of the background, can be swapped. If you need to hide part of the image behind an object located on another layer, drag the layer with the image with the mouse, part of which will be hidden under the layer with the object in the foreground. The position of the layers can be controlled not only manually, but also using the options of the Arrange group from the Layer menu.
Step 5
New layers in a Photoshop document are created not only by copying an existing layer. Using the Layer option of the New group of the Layer menu, you can insert a transparent layer into the file. Using the options of the New Fill Layer group, layers filled with color, gradient or texture are created, and the options of the New Adjustment Layer group make it possible to add an adjustment layer to the document.
Step 6
You can add one of the color correction filters to the adjustment layer, the list of which appears in the menu when you create a layer. This filter will affect all visible layers of the document below the adjustment. In order to rid the image on one of the layers from the effect of the filter, move it above the adjustment layer.
Step 7
The contents of the adjustment layer can be changed. In order to change the settings of the filter located on this layer, use the Layer Content Options option of the Layer menu. If you need to replace the filter itself, use the Change Layer Content option.
Step 8
There are situations when it is required to change an image, parts of which lie on different layers, without violating the order of the individual fragments and the ratio of their sizes. To accomplish this task, select the required layers and apply the Group Layers option. A folder will appear in place of the grouped layers, the contents of which can be transformed as a single image.


