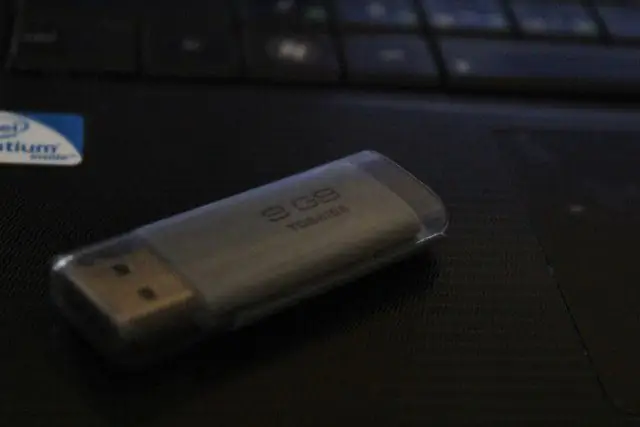
It happens that instead of the declared amount of memory, say, 8 GB, a flash drive can fit no more than 4 MB of information. Don't rush to throw away your flash drive. You can try to regain lost memory.
Instructions
Step 1
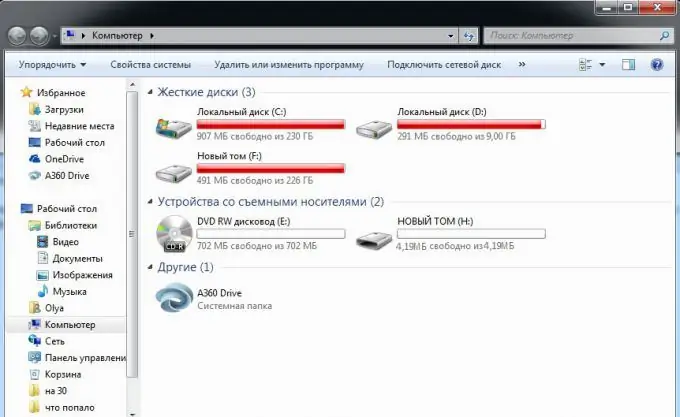
This is what the disc looks like initially.
Step 2
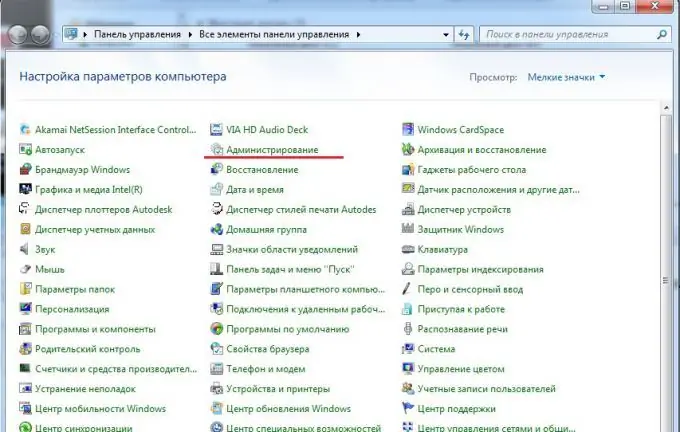
Open the Start menu on your computer. Select "Control Panel". Find the "Administration" item. This can be done by typing the word "administration" in the upper right corner of the window in the line "Search in the control panel".
Step 3
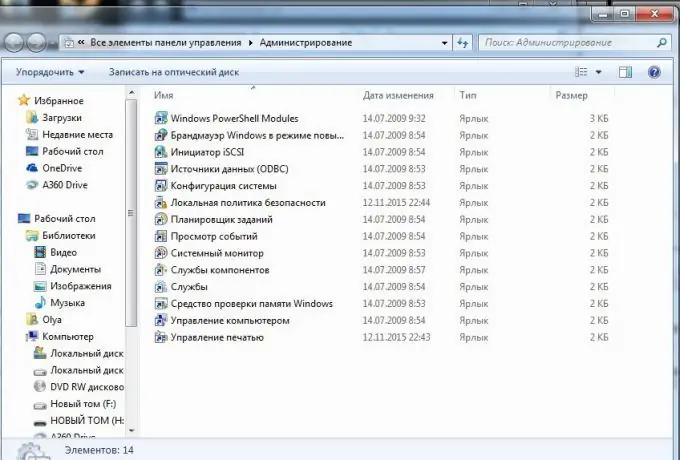
Select "Computer Management" from the menu list.
Step 4
From the left list, select the item "Disk Management".
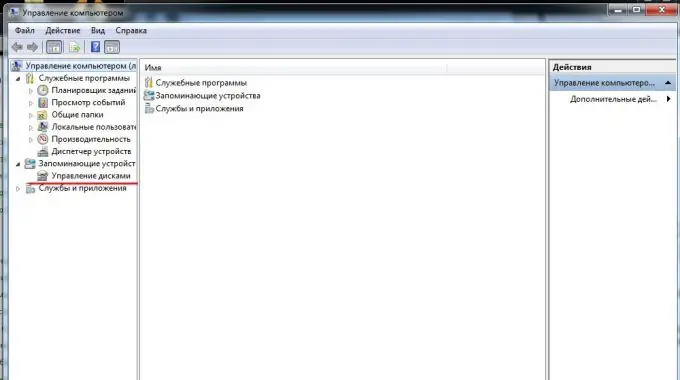
Step 5
In the central part of the window, we will find a faulty disk.
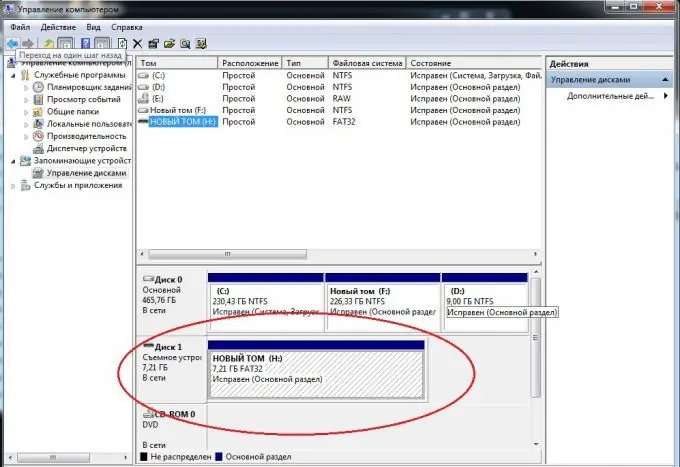
Step 6
Next, let's open the "Start" menu. In the search box, type cmd. We click the icon.
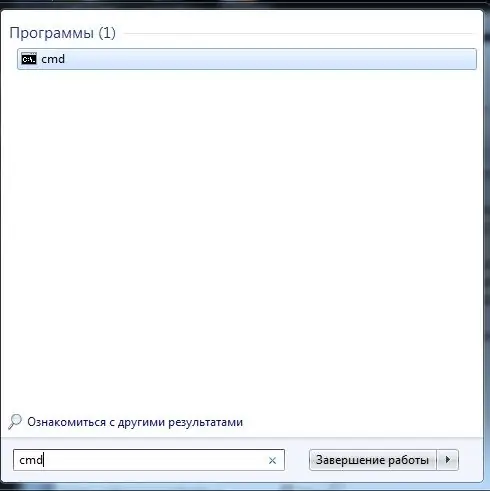
Step 7
The C: / Windows / system32 / cmd.exe window opens.
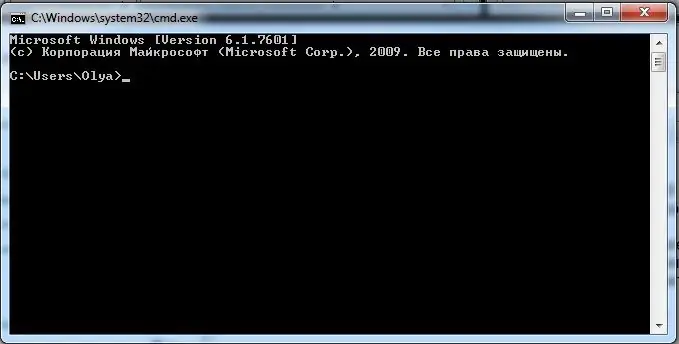
Step 8
We type the text DISKPART. We press Enter. The C: / Windows / system32 / diskpart.exe window opens.
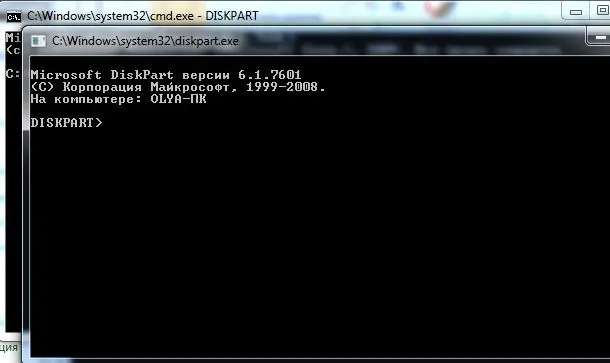
Step 9
Next, we type LIST disk. We press Enter. A list of disks opens, looking for our broken disk.
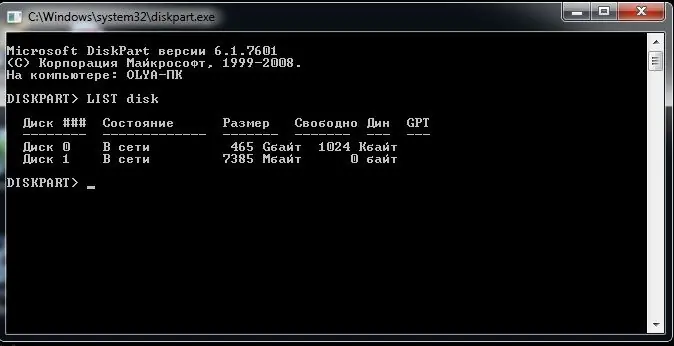
Step 10
Next, we type SELECT disk = 1 (the number is your own version, in accordance with the disk number). We press Enter. The window will say "disk 1 selected". We type the word Clean. We press Enter. The message "Disk cleanup completed successfully" appears. Go to the "Computer Management-Disk Management" window. We select "Action - Refresh".
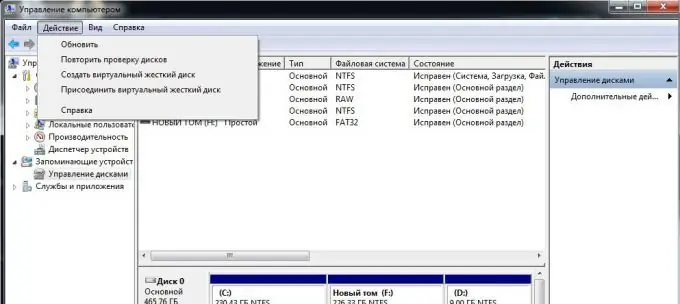
Step 11
Next, with the right mouse button, click on the designation of the flash drive, select "Create a simple volume". We set the required parameters. We are formatting the disk.


