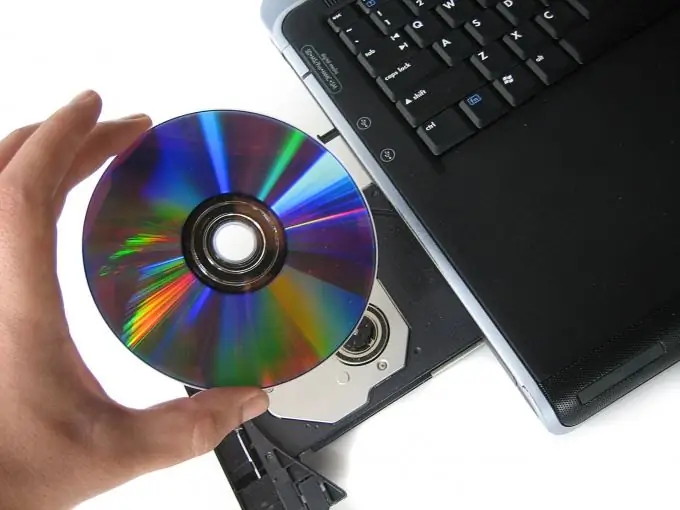
Today, a variety of materials are distributed on DVDs, from motion pictures to Linux distributions. If your computer has a drive that does not support this format, you can replace it with another one that supports it.

Instructions
Step 1
Select a drive based on the following considerations:
- what computer it is intended for: desktop or laptop;
- what interface is used by the old drive: IDE or SATA;
- should he be able to write DVDs or just read them;
- whether it should be internal or external.
Step 2
The easiest way to connect an external drive. Just plug it into any available USB port. If it will work in conjunction with a laptop or netbook, be sure to use a USB hub with its own power supply. Such a drive will not work in DOS.
Step 3
To install the built-in storage into your desktop computer, first disconnect the power from the computer. Disconnect both cables from the old drive, remembering how they were connected. Remove the screws, pull out the old drive. On the new drive, if it is of IDE standard, move the Master-Slave-Cable select jumper to the same position as on the old one. Insert the new drive, secure it, and then reconnect both connectors in the same way as they were connected to the old one.
Step 4
Before installing the drive, the laptop requires not only de-energizing, but also removing the battery. Using a special latch (or two such latches, depending on the design of the machine), disconnect the special cassette with a drive. Remove the four screws and then slide the drive out of the cassette. Insert the new drive and secure it with the same screws. Replace the cassette with the new drive. Make sure it is secured again with the latch (or two latches). It is not possible to install an optical drive in a netbook in this way.
Step 5
If the laptop has been upgraded, replace the battery. Turn on the machine and check if the new drive is working. Try to both read and write two or three media of each of the supported formats to ensure that the drive is fully functional.


