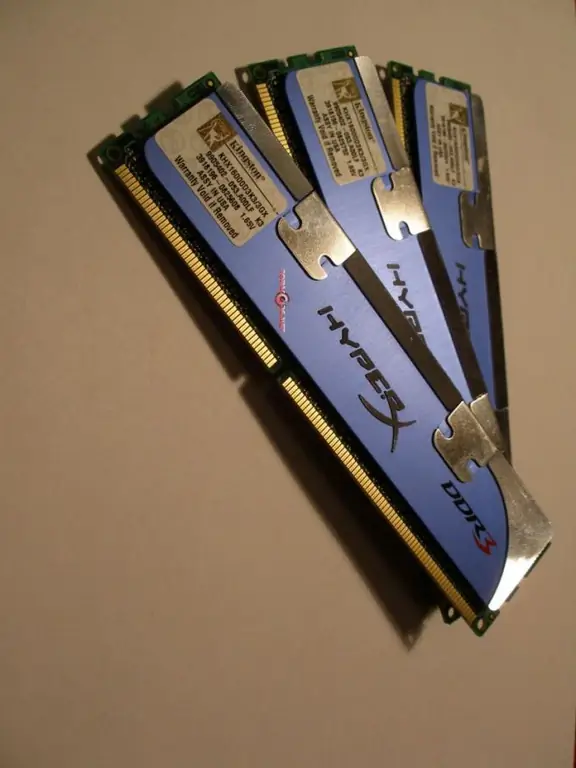
To successfully complete the RAM replacement procedure, you must select the correct RAM cards. To do this, it is better to use additional utilities that help to find out the characteristics of the installed bars.

Necessary
- - Speccy;
- - crosshead screwdriver.
Instructions
Step 1
Download the Speccy program. Select the version that is appropriate for your operating system. Install this utility and run it. Wait for the hardware scan to complete. Open the "RAM" menu. Examine the contents of the "Memory Slots" item. It contains information about the number of occupied and free slots, to which you can connect the ramps.
Step 2
Look at the information located under "Memory". Find out the type of boards installed, their frequency and the total volume. Open the "Motherboard" menu and write down its model. You can also find this data in the instructions for the motherboard.
Step 3
Visit your motherboard manufacturer's website. Find out the types of RAM sticks that can be connected to the motherboard. The fact is that some models of boards can work with two types of RAM. Determine the maximum allowable total memory size and the clock speed limit. Check the maximum amount of one RAM strip.
Step 4
Purchase the required number of RAM sticks. Turn off your computer and unplug it. Remove the cover of the system unit. Find the old sticks of RAM and remove them from the slots. Install one new plank. Be sure to make sure that the latches located at both ends of the slots are tightly closed.
Step 5
Turn on your computer and wait for the operating system to load. If the OS does not display any errors, then turn off the computer and install another memory stick. Repeat this cycle until all new RAM strips are attached to the motherboard. This method will allow you to quickly identify the faulty bar, if any.
Step 6
Run the Speccy program and open the "RAM" menu. Make sure all new RAM strips are detected by the system and are working properly.


