Unfortunately, newer versions of the XIlinx ISE development environment do not support older FPGA chips. And developers have to use the legacy Xilinx FPGA development environment called Foundation. And install it on old computers with Windows XP on board. Not everyone knows, but this development environment can be installed on a modern operating system Windows 7, and even 64-bit.

Necessary
- - a computer with Windows 7;
- - Foundation distribution.
Instructions
Step 1
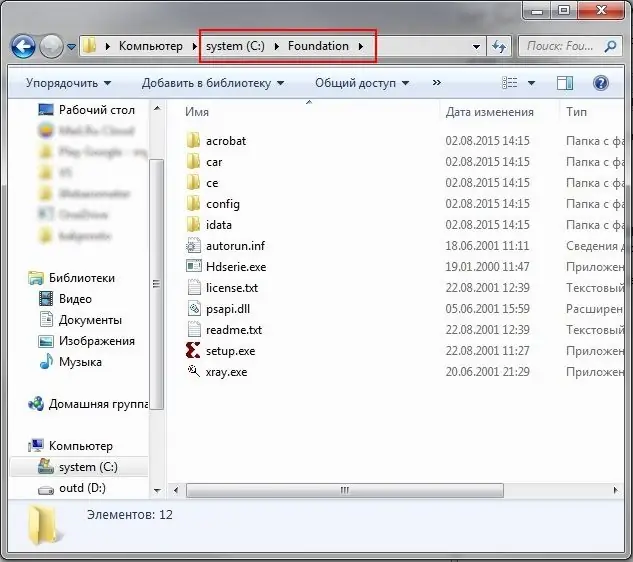
The main trick during installation is to place the installation files in a directory below the root level. For example, in the "C: / Foundation" folder. If they are located in a more "distant" directory, errors will occur during the installation of Foundation. So, first of all, we transfer the distribution files to the "C: / Foundation" folder.
Step 2
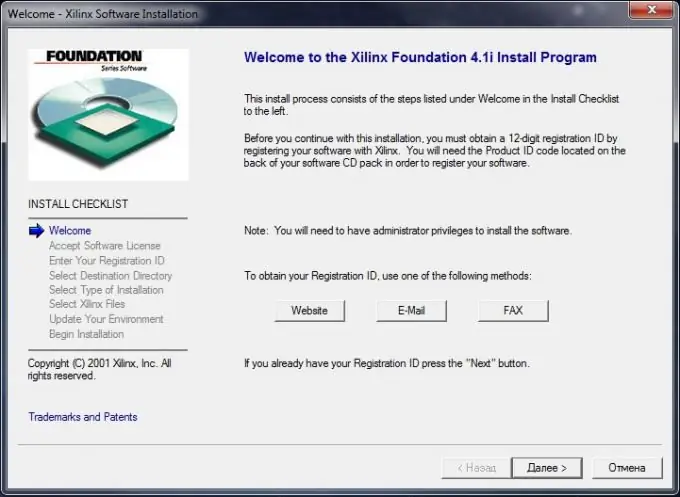
Run Setup.exe. The Foundation installer starts.
Step 3
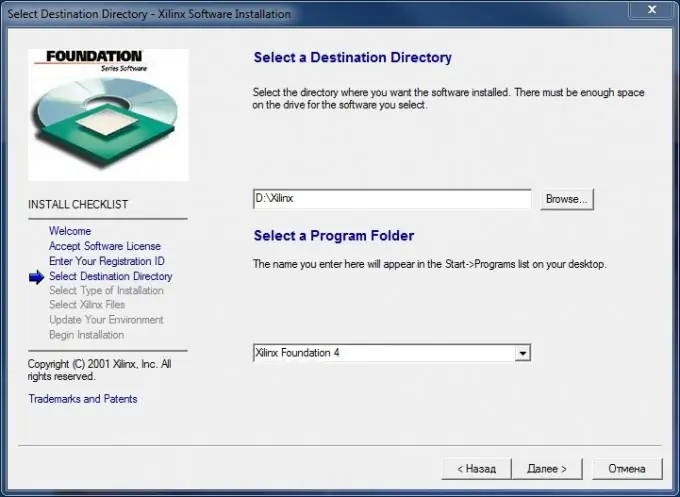
The installation process is generally standard, there is nothing special here. First, select the installation path. The default is "C: / Xilinx". Click "Next".
Step 4
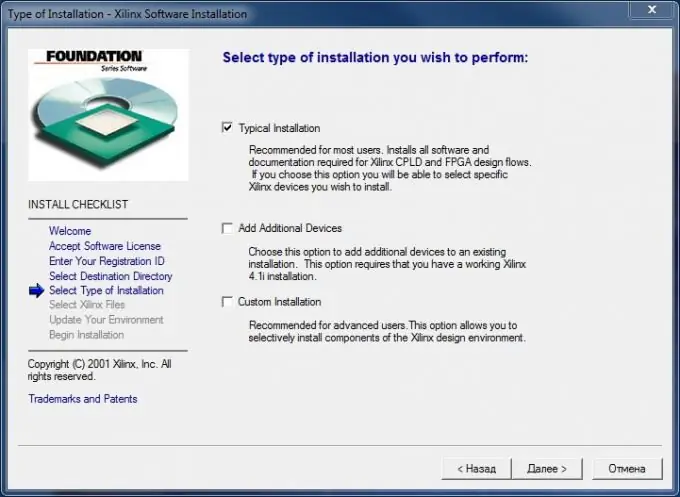
We choose the type of installation. I am quite satisfied with the standard - "Typical installation". Click "Next".
Step 5
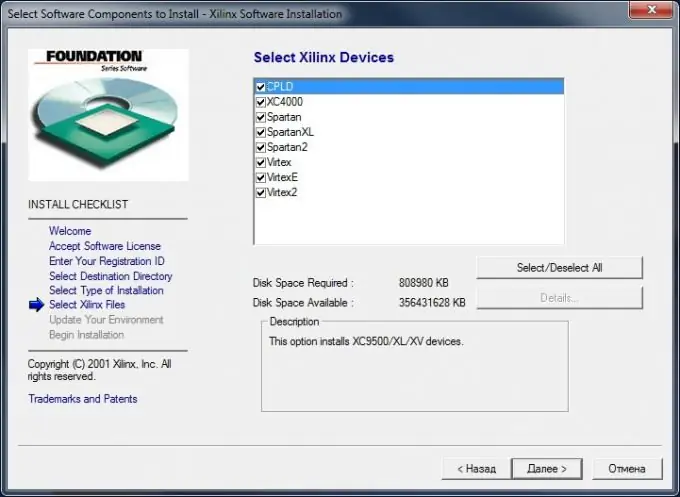
We select the devices with which you will work. You can install support for all Xilinx devices, since there is a lot of memory in computers now. Further.
Step 6
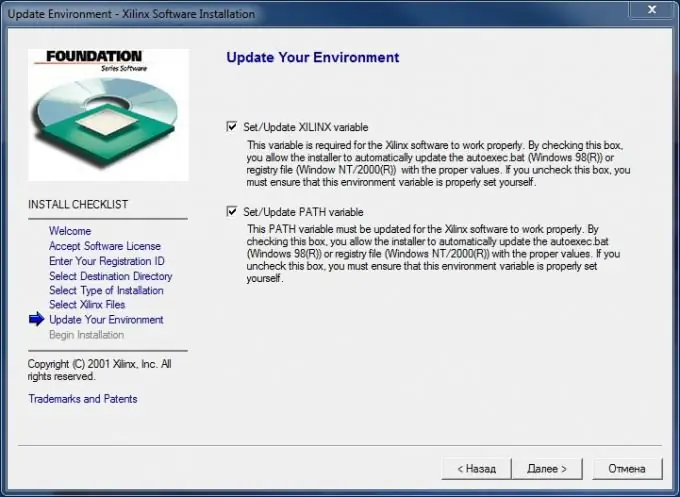
We select the installation options. Update environment variables or not. It is advisable to leave the checkboxes as they are. Further.
Step 7
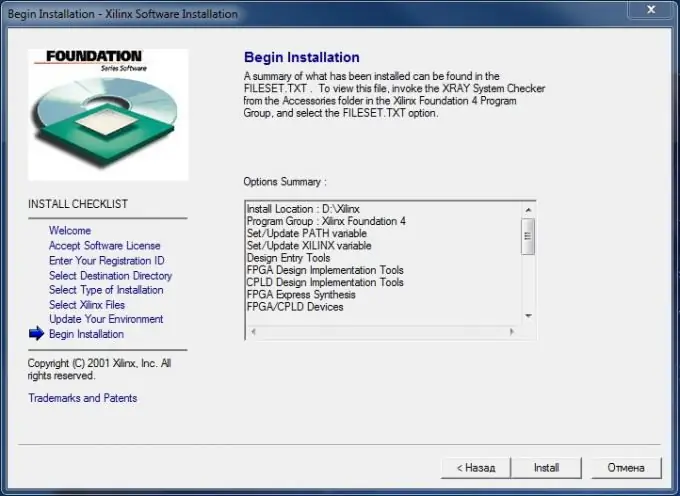
The installer will once again show all the selected settings and, when you click on the "Install" button, will begin the process of copying the Xilinx Foundation program files. We are waiting for the end of the process.
Step 8
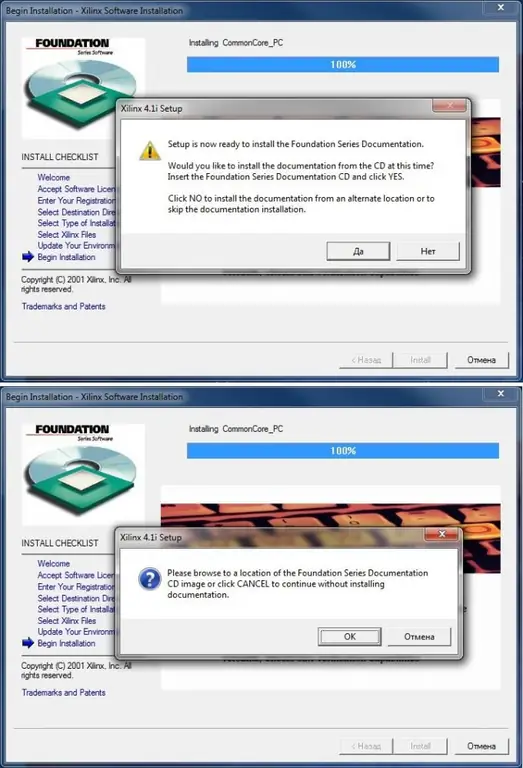
At the end, the installer will offer to install the documentation. I press "No" and then "Cancel" to proceed with the installation without documentation.
Step 9
The installer will prompt you to install device drivers. We agree.
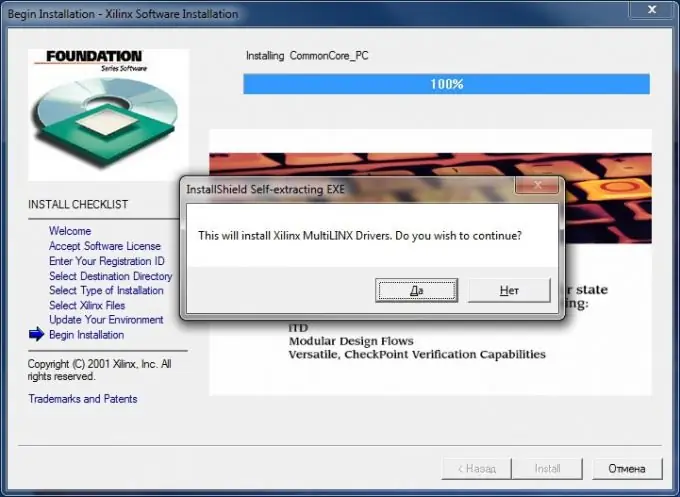
Step 10
The driver installer will start. Click "Next".
Step 11
Enter the username and company name, click "Next". We confirm the correctness of the entered information: "Yes". Click "Next" again and the installer starts copying the Xilinx driver files. At the end of the process, uncheck the "View README Notes" box and click "Finish".
Step 12
The installer starts installing the Xilinx FPGA design tools. Choose the installation path (or leave the same) and click "Next". Enter your username and company name. "Next". Selecting device families. "Next". Select the folder in the "Start" menu. "Next". At the end of the installation, the message "Setup has finished successfully" is displayed. We press "OK". The installer exits and exits. You now have a "Project Manager" shortcut on your desktop to get started with the Xilinx Foundation.


