Installing a new BIOS version is capable of opening up new possibilities for overlocking and working with the contents of the computer. An upgrade often fixes old hardware bugs. The manufacturer often updates the BIOS version for its motherboards and offers users several installation paths - through DOS or directly from the system.

Necessary
- - image of a bootable floppy disk Windows 98 or Windows ME;
- - the flasher and the BIOS firmware itself, downloaded from the motherboard manufacturer's website
Instructions
Step 1
To flash the BIOS, you need to download the firmware itself and the flasher program from the manufacturer's website. Also download the Windows 98 boot floppy image.
Step 2
Create a boot disk by specifying the path to the boot floppy image file and adding the appropriate BIOS files to the disk. This can be done using Nero or Ultra ISO. The writing algorithm in these applications is similar. It is necessary to open the system image file using the program and copy the files from the BIOS itself.
Step 3
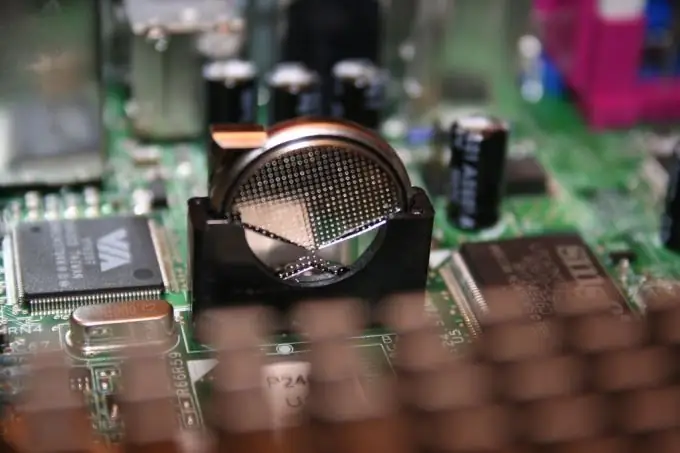
Reset the BIOS version. To do this, remove the battery from the motherboard for about 10 minutes, or select “Load Defaults BIOS” in the settings.
Step 4
Insert the burned disc into the drive, restart your computer. The command line will start. Type "dir", the firmware and BIOS files will be shown. Copy the awdflash.exe and copy nf3916.bin files to the virtual disk using the copy commands (“copy awdflash.exe C:” and “copy nf3916.bin C:”).
Step 5
Go to the appropriate section with the "C:" command. Set the options "awdflash nf3916.bin oldbios.bin / py / sy / cc / cp / cd / e".
Step 6
Copy the old version back to the floppy disk (command "copy oldbios.bin A:") and restart the computer using the keyboard shortcut Ctr, alt="Image" and Del. You can go into the BIOS and make the desired settings.


