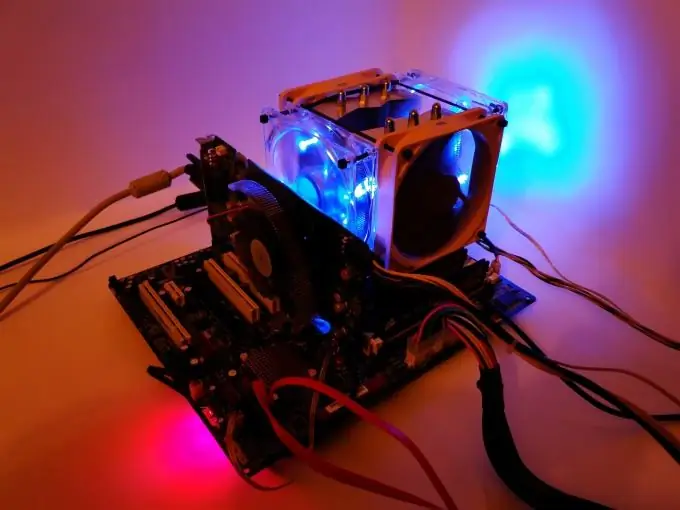
Replacing some elements in the computer system unit is a very difficult process. When it is necessary to replace the processor, many resort to the help of specialists, although this can be done independently.

Necessary
Phillips screwdriver, thermal grease, processor
Instructions
Step 1
First, you need to choose the right processor. Start by exploring the capabilities of your motherboard. Open the instructions or read information about this device on the official website of the manufacturer.
Step 2
Find out the type of socket used on your motherboard. Find processor models that can be used in conjunction with it. Sometimes only the latest suitable models are indicated, without listing all possible options.
Step 3
Purchase a processor that matches all the required parameters. Disconnect all cables from the system unit. Remove the left cover from it. Examine the type of attachment of the heatsink to the motherboard.
Step 4
Remove the heatsink, bend the spring that presses the processor to the motherboard, and pull it out of the socket. Carefully remove the new processor from the package. In no case do not touch his "antennae" with your hands.
Step 5
Install a new "stone" in the slot. To prevent improper installation of the processor in the socket, there are special risks on both elements. Their directions must coincide.
Step 6
Slide the cover that holds the processor against the motherboard. Apply a small amount of thermal paste (the amount should be approximately equal to the volume of the cap from the tube) to the top of the processor.
Step 7
Install the radiator. Before finally fixing it, move the radiator slightly in different directions. This will allow the thermal paste to spread more evenly.
Step 8
Do not turn on the computer immediately after installing a new processor. Connect all the necessary wires to the system unit and leave it for a while.
Step 9
After starting the operating system for the first time, update the drivers for the CPU. If an error appears when turning on the PC, then restart the computer and go to the BIOS. Reset all settings changes that are somehow related to the processor.


