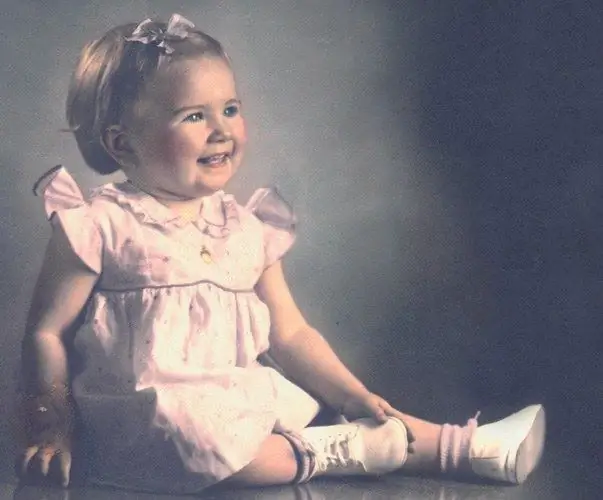
In order to slightly update a scanned old photo, as a rule, it is enough to work with the color of the image. It can take much longer to recover a snapshot that was repeatedly tricky and cracked before it got into the scanner. Such images can be processed in Photoshop.

Necessary
- - Photoshop program;
- - Photo.
Instructions
Step 1
Load the file with the snapshot into a graphics editor. Use the Layer via Copy option in the New group of the Layer menu to create a copy of the original layer. If you only need to slightly refresh faded colors in a photo, you should leave it to yourself to change the degree of image correction. To do this, all editing is applied not to the original layer, but to its copies, the transparency of which can be increased at the end of the work.
Step 2
There are several ways to bring colors back to life in old photographs. One is to apply the Match Color option in the Adjustments group of the Image menu. Adjust the intensity of the colors with the Color Intensity slider. To lighten the picture, use the Luminance setting.
Step 3
Another way to freshen up the colors in your photo is to change the layer's blend mode and apply a filter. Change the blending mode of the photo copy from Normal to Soft Light by choosing this item from the list in the layers palette. Use the Hue / Saturation option from the Adjustments group to open the settings window and increase the value of the Saturation parameter. Blur the adjusted layer with the Gaussian Blur option in the Blur group of the Filter menu. A blur with a radius of five to fifteen pixels is usually sufficient.
Step 4
Faded images often have a distinctive color balance. If you are not satisfied with the vintage look of the photo, correct the colors in the photo with the Curves option of the Adjustments group. Opening the settings window, use the extreme right eyedropper to specify a white area in the image. Use the tool on the left to pick black. The middle eyedropper is for the gray areas of the picture.
Step 5
It can take a lot of time, patience and the Clone Stamp tool to remove cracks and creases. One way to remove damage with this tool is to restore texture and color separately. To do this, use the Lab option in the Mode group of the Image menu to switch the image to Lab mode.
Step 6
In the channels palette, click on the Brightness channel and remove the damage using the Clone Stamp tool. Hold down the Alt key and click on the undamaged area of the image to specify the source for copying pixels. Paint over the crack or crease by releasing Alt.
Step 7
To remove a color spot that remains at the damaged spot, click on the Lab channel, switch the tool to Color mode and paint over the spot in the same way as you restored the texture.


