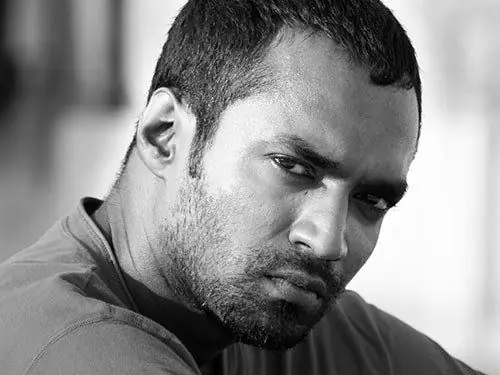
The photo retouching tools provided by the graphics editor Adobe Photoshop are truly amazing. With their help, you can change the composition beyond recognition, removing or adding elements to it. Images of people are often corrected. And here everything is limited only by the designer's imagination. For example, you can paint a perfect looking mustache on any face in Photoshop.

Necessary
- - the original image;
- - Adobe Photoshop.
Instructions
Step 1
Select the "Open …" item in the File section of the Adobe Photoshop main menu and load the image on which you want to draw a mustache. Activate the Ruler tool. Use it to find out the approximate width and height of the area in which the mustache will be located. Pressing Ctrl + N, create a new document with a transparent background, with dimensions slightly larger than previously defined.
Step 2
Create a blank mustache image. Activate the quick mask mode by pressing Q. From the menu select items Filter, Render, "Fibers …". Set the Variance and Strength parameters to 25 and 64 respectively. Click OK. Disable the quick mask by pressing Q. Set the foreground color to what you want the mustache to have. Press Shift + F5 or use the "Fill …" item of the Edit menu. In the Use list of the Fill dialog select Foreground Color, in the Mode list - Normal. Set the Opacity to 100%. Click OK.
Step 3
Transfer the mustache blank to the target document. Press the key combinations Ctrl + D, Ctrl + A, Ctrl + C in sequence. Switch to the window with the desired image. Press Ctrl + V. A new layer will be created.
Step 4
Give your mustache the shape you want. Select Edit, Transform, Warp from the menu. In the Warp list of the top panel, make the current item Custom. Move the nodes of the grid on the image to achieve the desired degree of transformation. Click on the Move tool button. Click on the OK button of the dialog that appears. Correct the position of the mustache image.
Step 5
Add volume to the mustache by blending shadows. From the menu choose Layer, Layer Style, "Bevel and Emboss…". On the current tab of the opened dialog, set the options values. In the Style list, select Inner Bevel. In the list Technique - Smooth, in Highlight Mode - Screen, and in Shadow Mode - Multiply. Make the Depth parameter equal to 1000%. Set the Size and Soften to 0, and enter 100 in both Opacity fields. Activate the Use Global Light option. Set the Angle parameter to a value approximately equal to the drop angle of the shadow on the background image. Click OK.
Step 6
Match the mustache to the background. Activate the Eraser tool. In the Mode list of the top panel, make the current Brush item. Set the Opacity to 20-30%. Choose a suitable brush. Erase the edges of the mustache to achieve the desired shape and realism.
Step 7
Press Shift + Ctrl + S. Save a working copy in PSD format. If necessary, export the image to a different format.


