In the work of any computer disk, sooner or later, errors and failures may occur. Any experienced user knows that in order to avoid such situations, it is necessary to periodically check the disk for faults, and their timely elimination will make the computer more reliable and protect your data. In the Microsoft Windows XP operating system, this can be done using standard programs with a few clicks of the mouse.

Necessary
Windows XP operating system
Instructions
Step 1
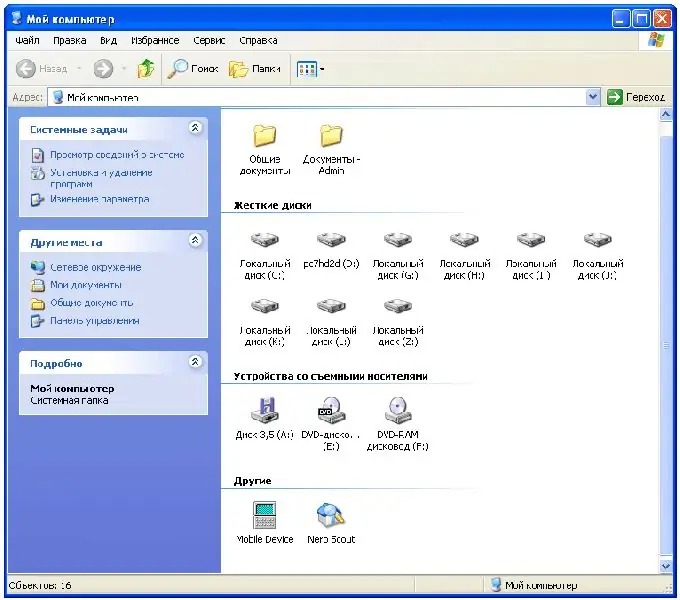
Select a drive. To run a disk check for errors, you must first select it. To do this, open "My Computer" and you will see all available logical drives. Think about which one needs it.

Step 2
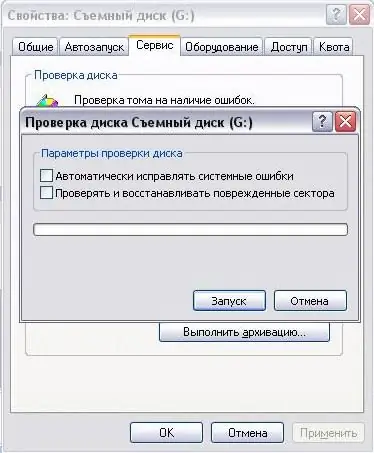
Configure options and run. Right-click on the selected drive and select Properties. In the window presented, open the "Service" tab. In it, you must select the verification options. There are two options to choose from: "Automatically fix system errors" and "Check and repair bad sectors". You can install both at once. After the options are selected, click the "Start" button.

Step 3
Wait for completion. It can take a long time to complete the verification operation. Its progress will be displayed in the current window. When finished, a message will appear on the screen.


