There are several ways to rotate objects in Adobe Illustrator, and today I will tell you about one of them using the example of creating a flower icon in the iOS7 style.

Necessary
- Adobe Illustrator program
- Proficiency level: Beginner
- Time to complete: 15 minutes
Instructions
Step 1
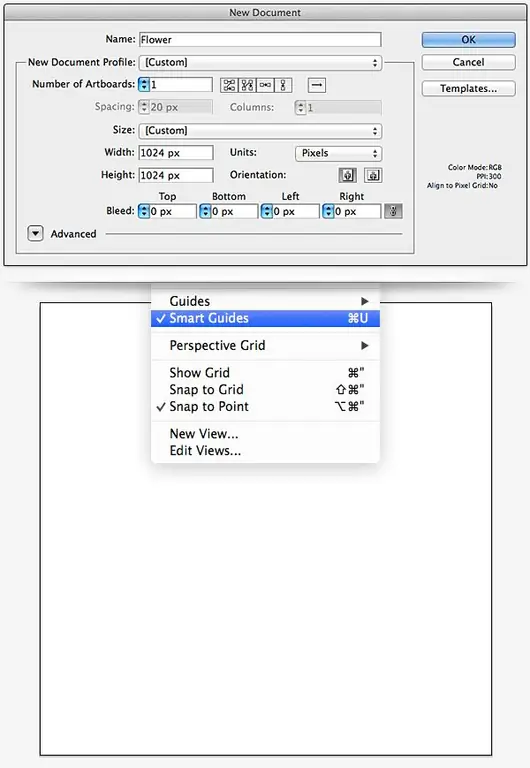
Create a new document with a size of 1024 x 1024 pixels. This is the maximum icon size for Apple, so we'll use that. Then click View> Smart Guides. (Comman + U or Ctrl + U).
Step 2
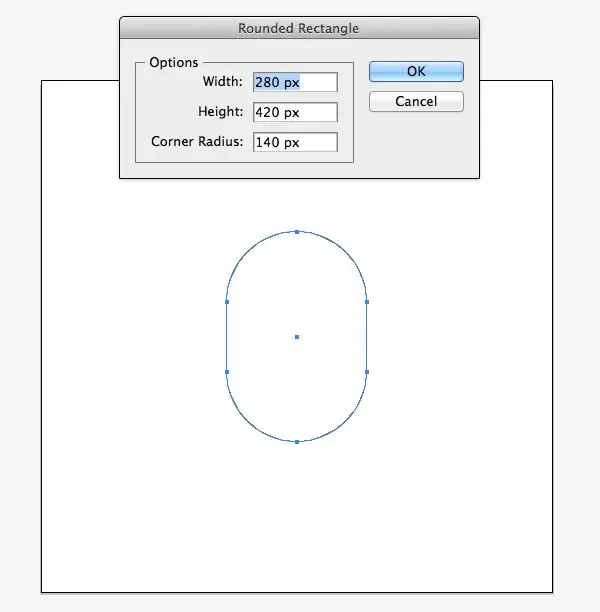
Select the Rounded Rectangle Tool and click on the artboard. In the window that appears, enter the values as in the picture: width 280px, height 420px, radius 140px.
Step 3
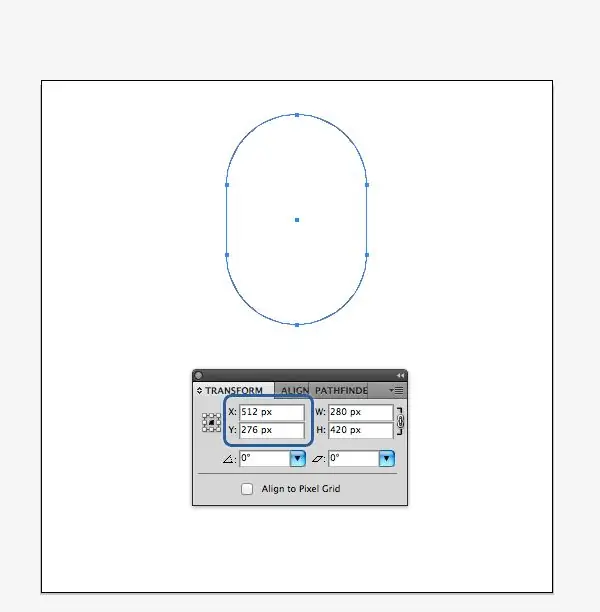
Go to the Transform panel (Window> Transform) and set the X-axis to 512px and Y-axis to 276px.
Step 4
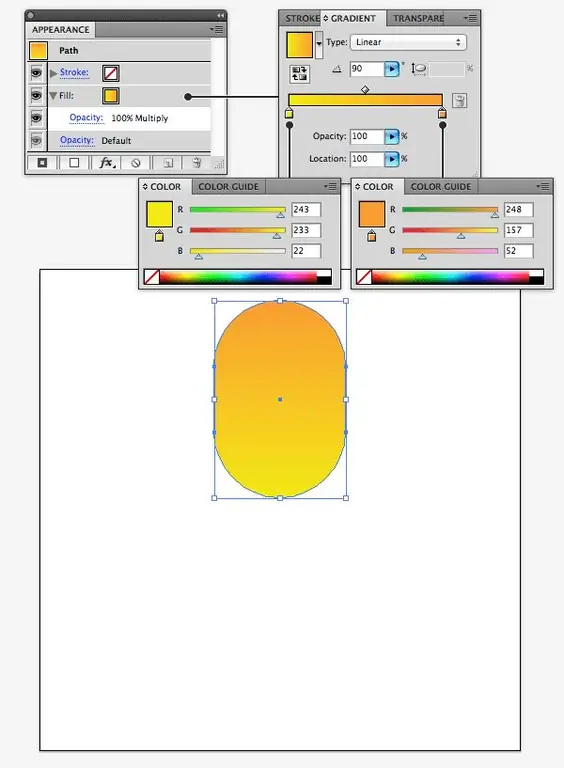
With the petal still selected, go to the Appearance panel (Window> Appearance). Remove the stroke, fill it with a gradient as shown in the image and apply the Blending Mode - Multiply to it.
Step 5
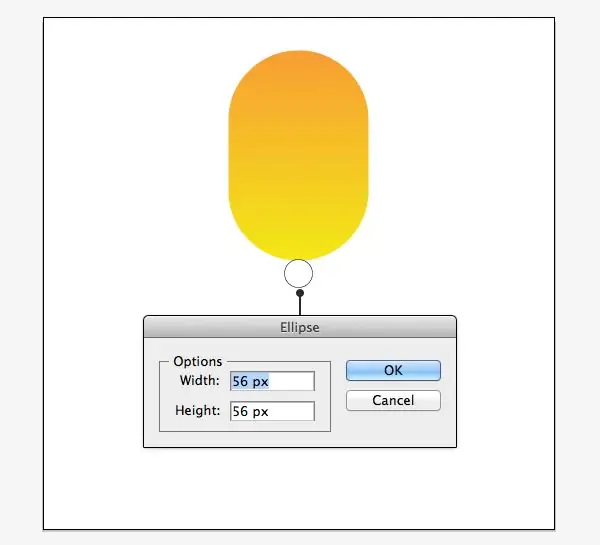
Select the Ellipse Tool (L), create a 56 x 56 px circle and center it on the artboard. We will use it as the center guide when rotating the petal.
Step 6
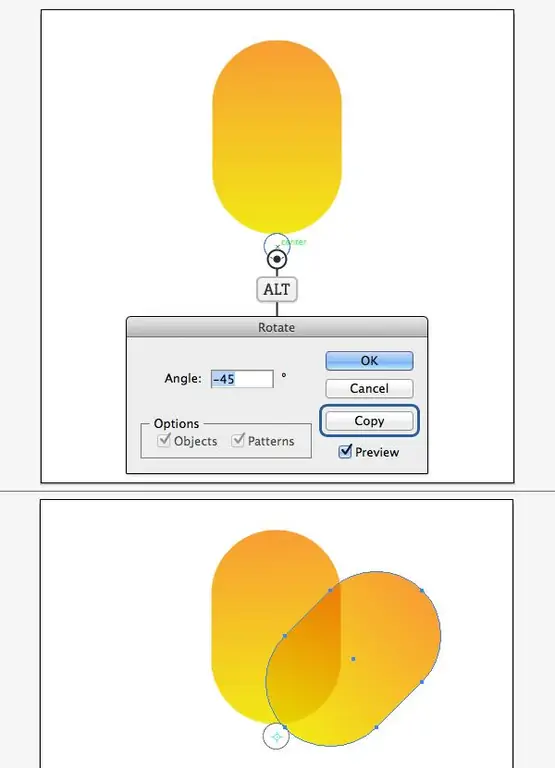
Take the Selection Tool (V) and select the petal. Then switch to the Rotate Tool (R key) and place the cursor over the circle in the center of the work area. You will see a small cross in the center of the circle.
Hold down the alt="Image" key and click on the cross. In the window that opens, enter an Angle value of -45º and press Copy to duplicate and rotate our petal.
Step 7
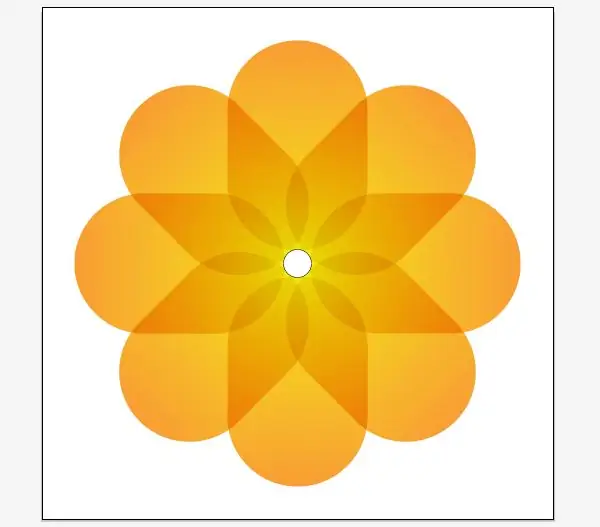
Repeat the action six times with Object> Transform> Transform Again (Command + D or Ctrl + D) to make eight petals.
Step 8
Now you can select the circle in the center and delete it.
Select each petal and fill it with a gradient. For this we will use 8 colors. The color of the start of the gradient is the same as the color of the end of the gradient on the previous petal.


