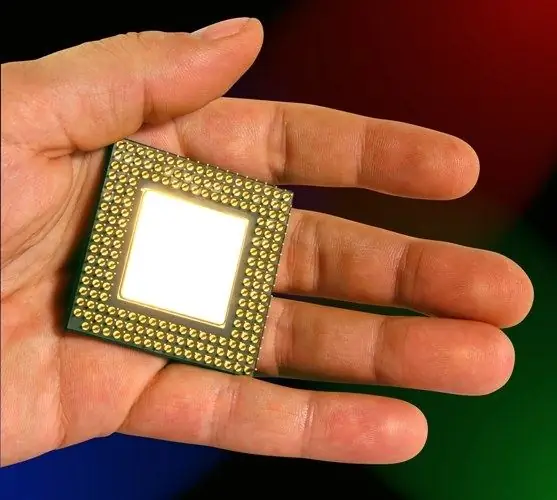
Computer components become obsolete very quickly, therefore, for many users, the issue of upgrading the system is quite relevant. One of the most common ways to improve your computer's performance is to install a new processor.

Necessary
- - cross screwdriver;
- - heat-conducting grease;
Instructions
Step 1
Before purchasing a new processor, make sure it is supported by your computer's motherboard. Even if the new processor is designed for the same socket, it does not mean that it will work. Be sure to search the Internet for information about which processors are supported by your computer's motherboard, and choose a new one only from this list.
Step 2
Purchase a tube of thermal paste with your processor. If you are replacing the cooler with the processor at the same time, or if we are talking about assembling a new computer, the paste is not needed, usually it is already applied to the heatsink case. Do not forget to evaluate its quality - if it is dry, replace the paste with a new one.
Step 3
All upgrade work should be carried out only on a computer disconnected from the network. To install the processor, remove the side panels from the system unit; on some computers, you also have to dismantle the front panel for this.
Step 4
Disconnect the cooler connector and any interfering cables from the board. Remember how they were located, or sketch (photograph) their exact location. Then remove the cooler together with the heatsink. Typically, the heatsink is secured in the holes of the motherboard with plastic clips. Release the latches one by one and push them out of the holes in the board.
Step 5
Be careful not to use too much force when removing the radiator. If the heatsink is not removed from the processor, it is most likely holding on to solidified thermal paste. In this case, reconnect all connectors except the cooler connector and turn on the computer for a couple of minutes. The heat transfer grease will warm up and the heatsink can be easily removed from the processor. Power off the computer again before removing.
Step 6
The processor is attached to the socket with a special lever, you will see it right away. Raise the lever, you will have to apply some force to do this. After the processor is released, remove it from the socket. Pay attention to the position in which it was inserted. The new processor will need to be installed in the same way. To exclude incorrect installation, a key is made on the processor in the form of a beveled corner.
Step 7
Insert the new processor into the socket, it should fit very freely. Press it down by lowering the lever. Be prepared for the fact that this will have to make a lot of effort, since all contacts are spring-loaded. Support the back of the motherboard to prevent bending.
Step 8
After installing the processor, remove the remnants of the old thermal paste from the radiator; for this you can use any alcohol-containing liquid - for example, vodka. Be sure to clean the heatsink and cooler from dust. Then apply a pea-sized drop of paste to the center of the processor body. There is no need to smear it: just carefully install the radiator on top, press it down a little, move it slightly from side to side. Then press down completely and check that the latches are engaged with the board. The processor is installed. Connect the cooler connector and cables, close the case covers. Turn on your computer and check if it works.


