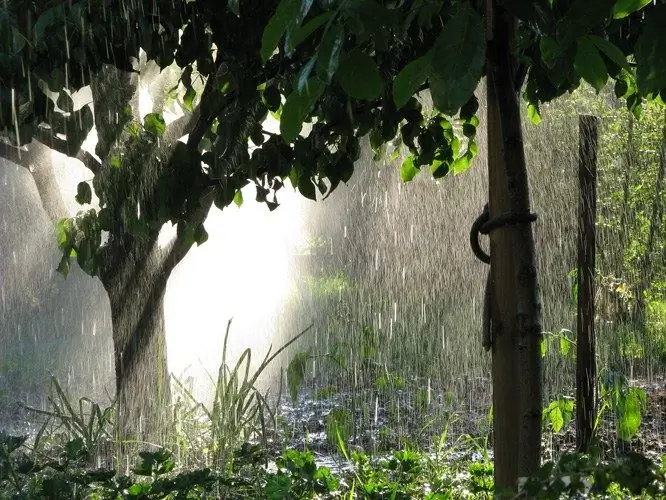
Using the tools of the Photoshop program, you can apply the effect of falling raindrops to a photo. Rain in this graphics editor is done by adding noise to the picture, transformed by motion blur.

Necessary
- - Photoshop program;
- - Photo.
Instructions
Step 1
Load the picture on top of which you are going to draw rain into the graphic editor. If you want to get a close to realistic image, use a landscape shot in cloudy weather.
Step 2
Use the Layer option in the New group of the Layer menu to add a new layer with a black fill to the file. Use the Paint Bucket Tool to fill the layer with color.
Step 3
Apply a monochrome noise effect to the layer. To do this, open the effect settings window with the Add Noise option in the Noise group of the Filter menu. Check the Monochromatic checkbox and select Gaussian in the Distribution field. Set the Amount parameter to the maximum value.
Step 4
Apply motion blur to the noise layer. Use the Motion Blur option in the Blur group of the Filter menu to open the filter settings. The value of the Angle parameter determines in which direction it will rain on the image. Values from forty to sixty degrees are commonly used. This results in rain falling from the upper right corner to the lower left. If you want to draw rain falling from the upper left corner of the image, set the Angle parameter to a negative value. To obtain vertically falling drops, a value of about ninety degrees is required.
Step 5
Adjust the Distance value so that you get traces of raindrops flying in the air. As a rule, a value in the range of forty to fifty pixels is sufficient. Over 200 pixels will result in stripes that are too long.
Step 6
Change the blend mode of the rain layer from Normal to Soft Light or Screen by choosing one of the blend modes from the drop-down list, which can be found in the layers palette. If the rain turned out to be too light in the Screen mode, reduce the brightness of the layer and increase its contrast by opening the settings window with the Brightness / Contrast option in the Adjustments group of the Image menu. Decrease the Brightness value and increase the Contrast value.
Step 7
Merge the layers of the file with the Flatten Image option from the Layer menu and save the resulting image with the Save As option of the File menu.


