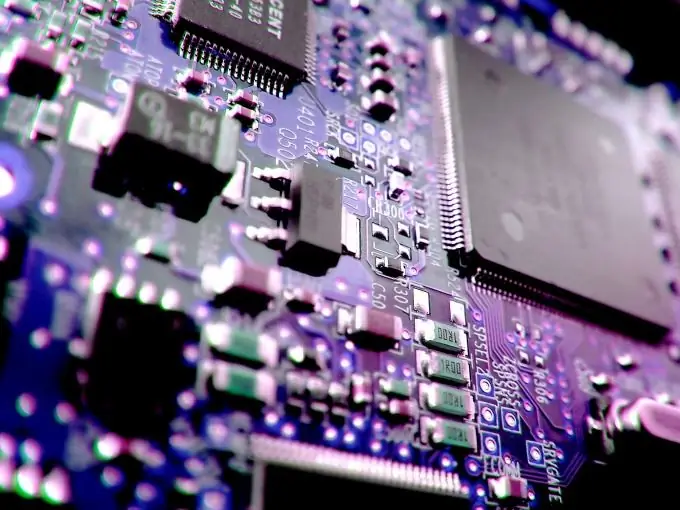
The first thing to do when manually assembling a home computer is to connect the motherboard, processor and cooler and only then install hard drives, various drives and other devices for comfortable work. And if instructions are written on how to connect additional equipment to a computer, then you should dwell on how to connect a motherboard.

Instructions
Step 1
Place the motherboard on a flat, hard, horizontal surface. The first thing to install on it is a processor and a cooler. The central processor is installed in such a way that with all the antennae located at the bottom, it clearly coincides with the slot holes on the motherboard. There will be no holes on one or more sides of the slot - this is done specifically to facilitate installation. After the processor falls into the slot, press it down using the lever on the side. The clamping force should not be too great.
Step 2
Before installing the cooler on top, do not forget to lubricate its sole with thermal grease. A small drop of thermal paste should also be squeezed onto the processor for better cooling during operation. Depending on the modification, the cooler is fastened either with special locks, or clips, or screws. Dealing with them is not difficult. After installation, check that the cooler is securely fastened.
Step 3
A motherboard with a processor and cooler can be installed in the system unit. On the inside of the opposite case cover there are plastic fasteners that should line up with the corresponding holes on the system board. If the board is properly seated, you will hear clicks on these fasteners. Check that the motherboard is securely seated. It should not move away from the body or bend.
Step 4
You should connect the motherboard to the power supply after installing the video card and RAM. Since these devices are detected by the computer first, the system will not boot without them, and it will be difficult to assess the performance of the motherboard.


