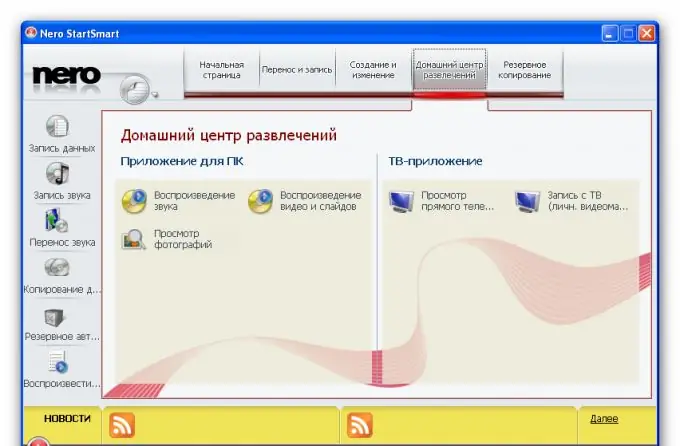
Many people believe that in order to independently create an Audio CD, that is, a disc with music files recorded in audio format, and not in.mp3 format or some other purely computer format, you need to download complex programs, then set them up for a long time and process the music files themselves. In fact, Audio CDs can be easily created using a common program such as Nero Burning ROM. The program has a simple and intuitive interface and allows you to quickly record an audio album.

Instructions
Step 1
Open the program by double-clicking on the.exe file, that is, the startup file. The program will automatically open the main menu window, in which you can select the recording format that you need. If this did not happen, click on the "New" button in the upper row of buttons or select "Create …" in the main menu of the program. A dialog box will appear with a choice of recording options.
Step 2
In the upper left, in the small window, set the parameter "CD" (or make sure that it is selected), in the menu on the left, a choice of options for recording to a CD will appear. Look for the Audio CD icon and click on it. Next, set the recording settings. In the dialog box that appears, you can select the disc burning speed, set the subsequent check, set the recording method and the number of copies, and enter information about the album. Click again the "New" button in the bottom row of the window buttons and in the explorer window that appears, select the files you want to write. Watch the ruler at the bottom of the window - it will show the total time of the audio files being recorded as you add them. Closer to the right edge, there are two borders - a vertical yellow line and a vertical red line. In no case do not allow the recording time to go beyond the red line - the program will not allow recording. Also try not to go beyond the yellow line - in this case, the files may be written with an error.
Step 3
After adding files to your project, click the "Burn" (or "Burn" - burning) button located in the top row of program buttons. Another dialog box will appear, where you can either change or confirm the previously set settings by clicking the "Burn" button. That's it, the disc recording has started. If in the settings you have checked the checkbox "Check recorded data", after recording the program will run the entire disk for errors, that is, it will check the correctness of the recording.


