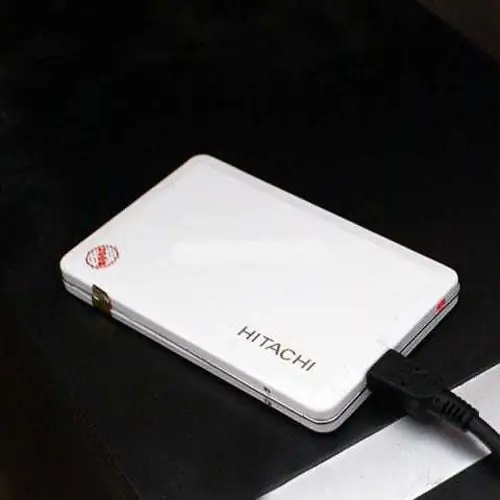
Formatting a portable hard drive is similar to an internal hard drive, that is, you can install the same file systems on it, select the cluster size and lose all information when formatting.

Instructions
Step 1
Connect your portable hard drive to your computer and open the "My Computer" explorer window, then right-click on it. A context menu will appear, in which click on the "Format …" item. This will bring up the settings window, the title of which will contain the following name: "Format (disc label and letter)".
Step 2
In this settings window, select the desired file system with which your portable hard drive will function. If you work or are going to work with large files (4 GB or more), then select the NTFS file system for your disk. It should be noted that this file system is recognized only by computers running an operating system with an NT kernel. If you do not need to work with large files, the FAT or FAT32 file system may well suit you.
Step 3
Enter the name of your portable hard drive in the "Volume label" field, and then select the formatting methods below. To confirm the formatting operation, click on the "Start" button.
Step 4
Another way of formatting is to use special utilities, such as, for example, Acronis Disk Director, which is one of the most popular utilities for working with hard drives. Install it on your computer.
Step 5
Run the utility and select manual mode. In the list of hard drives that takes up more space in the program window, right-click on your portable hard drive and click on the "Format" item in the context menu that opens.
Step 6
In the upper part of the Disk Director's window there is a toolbar on which the icon with the image of a racing flag is activated. Click on it with the left mouse button to complete the scheduled tasks. In this case, it's formatting.


