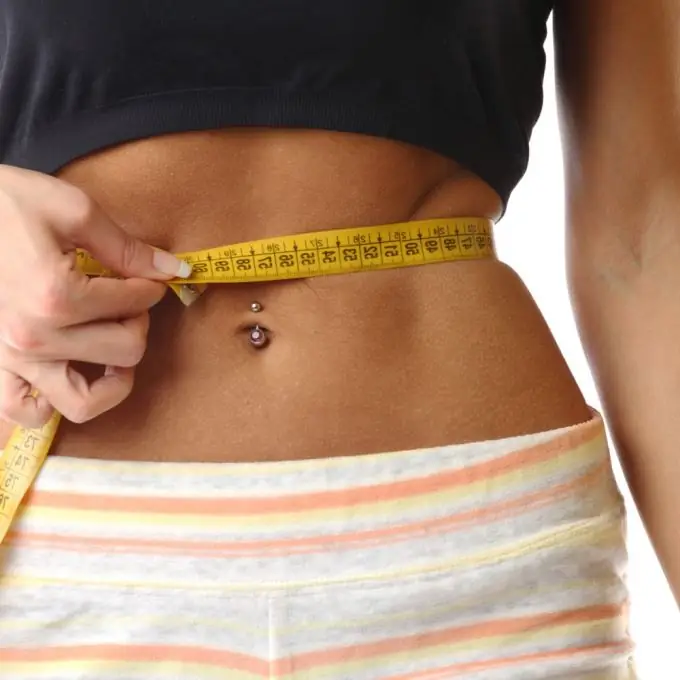
In our age of total imposition of stereotypes, every now and then a person experiences dissatisfaction and disappointment from what is not squeezed into the framework of fashion trends. People "in the body" believe that they look wrong and unattractive, naturally trying to standardize their appearance, at least in photographs.

Instructions
Step 1
Just as the operation of a plastic surgeon costs a lot of money and true professionals can be counted on one hand, so the services of a retouching master who can magically modify your photo cost a lot, specialists acquire the appropriate skills for many years, fill their hand. There is no magic button "Make me beautiful" in any graphics program. This is the work of human hands. Not any photograph can be made "candy".
Upload a photo. An image where the human figure is located on a flat background that does not bear complex details is best suited, because when the shapes decrease, in their place something should be visible that "was hidden behind them." These places of the image will have to be recreated, that is, draw and complete. It would be good if it was just the sky or the sea surface, which are easy to depict or transfer from another part of the picture.
Using the Lasso tool, carefully outline the contours of the place that we will modify. The more carefully you do this, the more natural the result will look - we need the viewer to believe that the forms are in reality. Having selected the piece you need for work, copy it to a new layer via the menu Layer> New> Layer via Copy.
Step 2
Apply the Liquify transformation to the selected fragment. Bend and stretch the image, giving it the desired shape. It is recommended to use a large brush so that the edge of the transformed piece does not look "wrinkled" and "plucked", while trying to make sure that the rest of the edges of the outline remain in place, otherwise they will not coincide with the original human figure.
Do not overdo it, the human body is not plasticine, all curves should look natural. But the excessive mechanical conformity to the “alien” pattern is usually unattractive, and the falsity begins to be felt in the photograph.
Step 3
The new shapes are good. But we see that from under the resulting beauty "the remnants of the former luxury" are crawling out. Go to the bottom layer and use the Stamp tool to copy the background from the adjacent places of the picture, whatever it might be here. This is also not an easy job, it requires perseverance and artistic taste.
The background is painted on. Turn on all the layers and admire the result.
Step 4
Having admired, you can merge the image into a single layer with the command Layer> Flatten Image and save the image.


