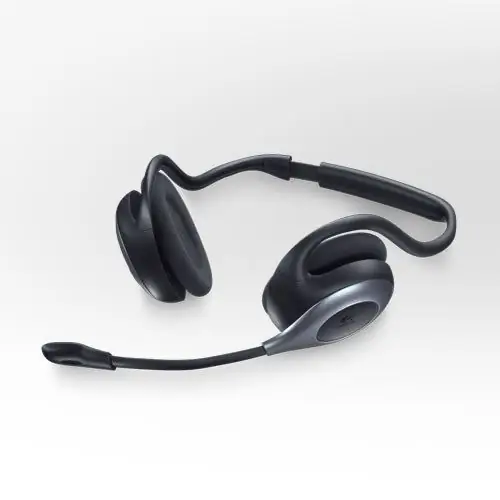
Today Skype is one of the most popular communication methods. With its help, you can not only see, but also hear your interlocutor. In addition, thanks to the mobile Internet, you can use Skype even on the road. After all, many modern laptops have a built-in webcam. To start using Skype, you need to connect a microphone to your computer.

Necessary
a computer with Windows 7
Instructions
Step 1
Before proceeding with the microphone setup, you must ensure that all the required audio drivers are installed on your system. Otherwise, the microphone will simply not work.
Step 2
The microphone plugs into a jack on the back of the computer. On some system units, such a socket may also be located on the front wall. However, it may not always be working due to the fact that it is simply not connected to a connector on the computer's motherboard. So if, after connecting the microphone to the front panel, the system did not recognize it, then it is better to connect the device to the connector on the back of the system unit.
Step 3
After the microphone is connected, click "Start" and select "Control Panel". On the control panel, click on "Sound".
Step 4
The audio hardware setup window appears. In this window, select the "Recording" tab. After that go to the "Levels" tab. Drag the slider from its original position to the right. You can leave the slider somewhere in the middle of the strip. Also in the "Record" window, if necessary, you can configure other parameters of the microphone.
Step 5
After that, you need to configure the microphone directly in the Skype program. If you have not yet installed this program, then you need to download and install it on your computer. You must also have your own Skype account. Launch the Skype program and sign in to your account.
Step 6
On the program toolbar, select the "Calls" option, and then go to "Sound settings". The Microphone field should display the microphone that you connected to your computer. You can customize the operating parameters of this device.
Step 7
After selecting all the options, you can test the microphone operation if necessary. To do this, select "Make a test call" in the program menu and test the settings of the device.


