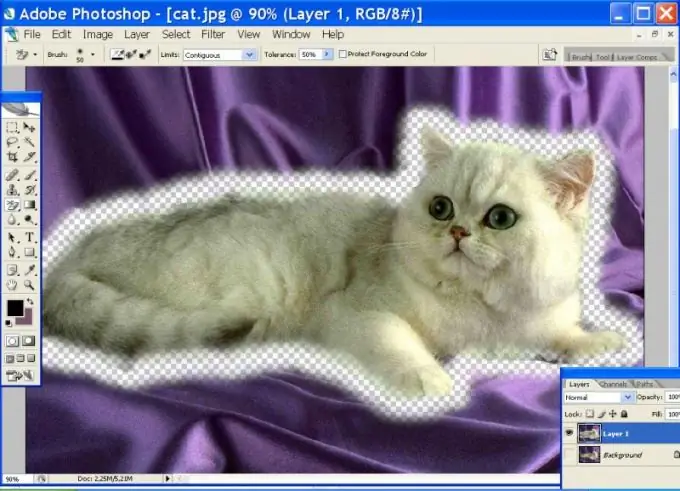
When processing images in Photoshop, it is often necessary to select fluffy objects - tousled hair, long hair, etc. The capabilities of this wonderful graphic editor will allow you to select fur in Photoshop.

Open the image and duplicate it on an additional layer using the Ctrl + J keys. It is better to process copies so as not to damage the main image. Press the Latin E key to activate the Erase toolset. Check the Background Erase Tool. It looks like an eraser with scissors. This tool removes the background around any element in the photo.
Now you need to select the Eraser settings. If you want to select fur, then it is better to choose zero brush hardness (Hardness = 0) and a sufficiently large diameter. The tool looks like a telescopic sight - a circle with a cross inside. Place it on the selected object so that the cross is outside the border of the object, and click the left mouse button so that the tool takes a sample of the color that you want to delete. Now, without releasing the left key, move the mouse along the outline of the selected element. Even if you drive into an object, it will not suffer, because it is different in color from the background - a smart tool will not remove unnecessary ones.
Once the background color has changed, click again to have the Eraser take and remember the new swatch. The more varied the background around the subject, the more often you will have to click. If the background color and the object color differ slightly, decrease the Tolerance value. The closer the color shades, the smaller the Tolerance will be. It is important not to overdo it so that the Eraser, along with the background, does not delete part of the object. If you select complex elements, along with the Tolerance, you will have to change the diameter of the brush. However, all efforts will be rewarded - after all, a smart eraser, along with the background, will also remove the halo around the object. You don't have to clean up the multicolored border around the selection.
If you have used another tool to cut out the object, the Remove black matte, Remove Wight matte and Defringe commands from the Layer-> Matting menu will come in handy.


