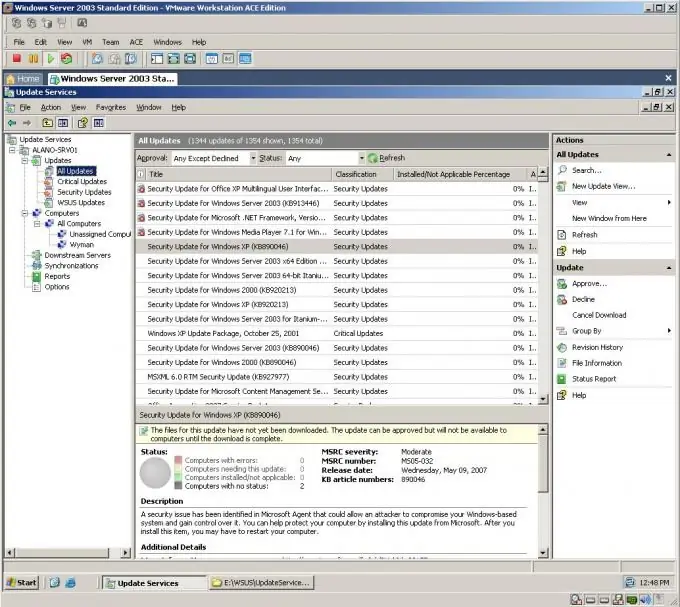
The WSUS update server is known to many system administrators as a convenient and flexible way to centrally update Microsoft products. With its help, you can control the update process, collect information about network security and save traffic.

It is necessary
a computer connected to the internet
Instructions
Step 1
Download the WSUSSetup_30SP1_x86.exe installation file from the Microsoft website to raise the update server. Start it up. Select the wizard language if it was not automatically selected. Then select the installation mode: full installation of the update server, with the administration console, or only the administration console. For an initial installation or server upgrade, choose the first option.
Step 2
Wait until the end of the analysis of the system configuration, and if problems are found, the process of creating the update server will be completed, and you will receive recommendations for changing the settings. If everything is in order, accept the terms of the license agreement, then determine where the updates will be stored: on a local disk or each time they will be downloaded from the Microsoft Updates server. Check the box next to Store updates locally. By default, a folder for updates is created on the system drive (C: / WSUS). This is impractical, as free space may not be available at the right time. Select a folder for storing updates located on another disk or partition, specify the path to this folder in the field below.
Step 3
Click "Next". In the next step, choose whether you will use an internal database or will connect to an existing database server. The internal database will be created on the system drive by default, so it is better to choose another folder to store it.
Step 4
Specify in the lower field the settings for connecting to an existing database. The database installed on the local computer will be detected automatically, select it in the "Existing database server on this computer" list.
Step 5
Select the "Preferred Web Site" radio button for the Web site where WSUS will run. You can leave the default "Use an existing node". In the window after the settings, copy the address to which clients will connect. Click the "Next" button, wait for the installation to complete.


