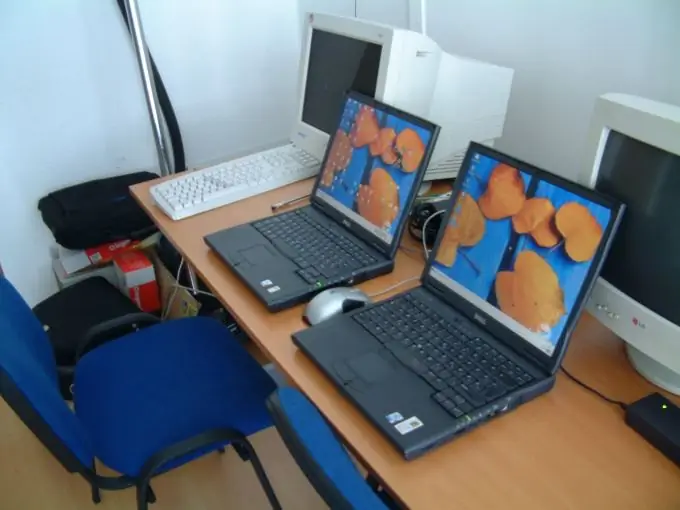
Nowadays it is rare when the family is satisfied with the presence of one computer. As a rule, there are two or more of them. For the convenience of using home computers (information exchange between them, shared Internet access), they are combined into a local network. Let's consider the simplest case when it is necessary to connect two personal computers (PCs) into a network.

Necessary
network cards, category 5 UTP cable
Instructions
Step 1
Today, almost all computer motherboards come with a built-in network card. If this is not the case in your case, buy network cards for computers and insert them into the PCI slots of the motherboard.
Step 2
Install the drivers for the network cards from the disks that come with the motherboards or those that came with the network cards (if you bought them separately). After that, the name of your network adapter will appear in the Device Manager in the "Network Cards" section.
Step 3
To connect a PC, you need a network cable that is crimped in a special way - the so-called crossover cable. It can be purchased at the store or crimped with special crimping pliers yourself. Connect the cable to the connectors of the network cards. If the indicators on the network cards are on, then there is a connection between the computers at the physical level. If the indicators (or one of them) are off, this indicates that the cable is not crimped correctly or the network card is faulty.
Step 4
Configure your operating system to work with the network. Right-click on the Network Neighborhood icon, select Properties. Click on the network adapter icon. By selecting the "Support" tab on the "Details" tab, see the current IP address and subnet mask assigned to the network card. On the same network, the subnet mask is the same for all computers, but the IP addresses are different. Give the computers the same workgroup name. To do this, in the "System Properties" (right-click on the "My Computer" icon) on the "Computer name" tab, click the "Change" button. There you can change the name of the computer and set the name of the workgroup. After that, the computer must be rebooted.
Step 5
Open access to the selected folders (share the folders) of each of the computers. To do this, right-click on the folder, select "Properties". On the "Access" tab, check the box next to the phrase "Share this folder." Click Apply and OK.


