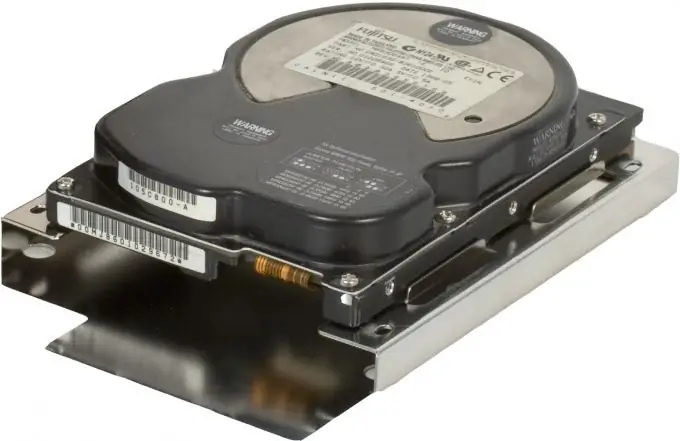
In rare situations, it becomes necessary to transfer the operating system to another hard drive. Usually this process is used to quickly copy a working version of Windows when changing a hard drive.

Necessary
Partition Manager
Instructions
Step 1
Try using Partition Manager first. It will save you from possible unpleasant consequences, because with its help you will create an exact copy of the system partition of the hard disk. Install the Partition Manager version that works in the Windows XP environment.
Step 2
Connect the new hard drive to which you want to transfer the Windows XP operating system, and turn on the computer. Start Partition Manager. Prepare the new hard drive for loading the operating system on it.
Step 3
The subtlety is that in order to successfully create a new partition on which the copied version of Windows XP will be located, you need an unallocated disk area, and not a clean, ready-made local disk. Select one of the hard disk partitions, the size of which is suitable for installing Windows XP and programs on it (more than 15 GB).
Step 4
Click on it with the right mouse button and select "Delete section". Confirm the start of the partition deletion process. Click the Apply Pending Changes button. Reboot your computer. Start Partition Manager again.
Step 5
Now open the "Wizards" menu and select the "Copy Section" function. In the window that opens, check the box next to the "Power user mode" item and click the "Next" button.
Step 6
In the new window, specify the deleted partition of the new hard disk (unallocated area) and click the "Next" button. Set the size of the local disk where the copy of the operating system will be located. Click "Next". In the next window, just click the "Finish" button.
Step 7
Now open the "Changes" menu. Click on the "Apply changes" item. The computer will restart and the program will continue to copy the partition in DOS mode.


