When drawing a portrait, it is important to pay special attention to the eyes.
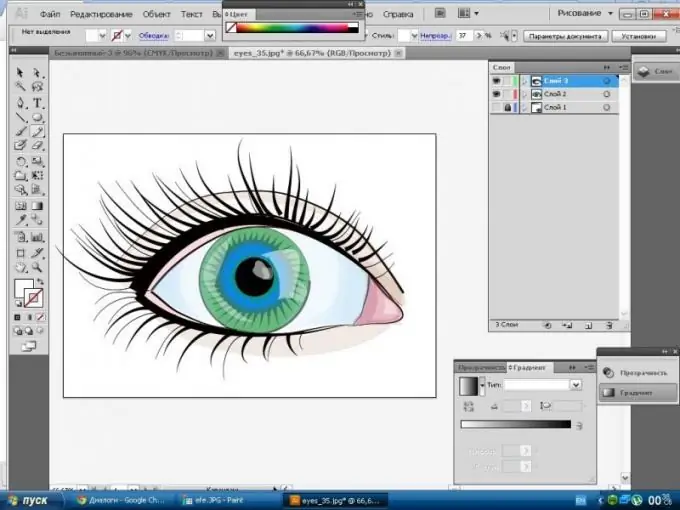
Necessary
Adobe Illustrator, photograph of the eye
Instructions
Step 1
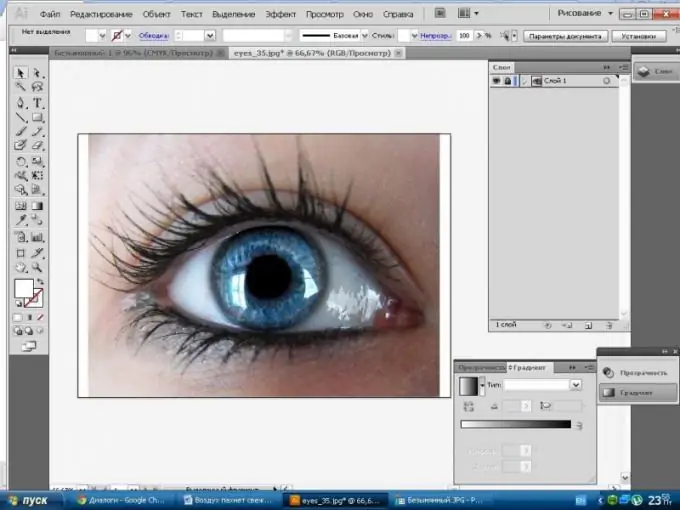
Open a new document, standard size. Place any photo of the eye (high quality) there and fix the image.
Step 2
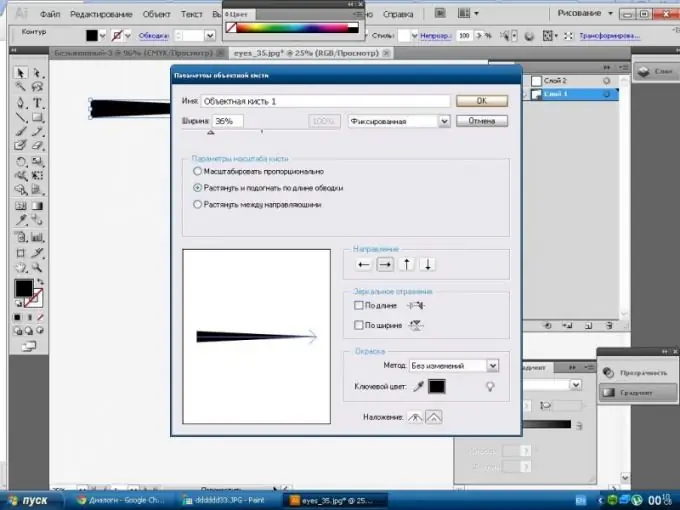
Create a new layer and start drawing. Better to create a new brush, for this, draw an elongated triangle with the pen and transfer it to the brushes (select the art brush).
Step 3
On a new layer with a brush, paint everything that we see in the photo, periodically it is necessary to make the photo invisible in order to see what happens.
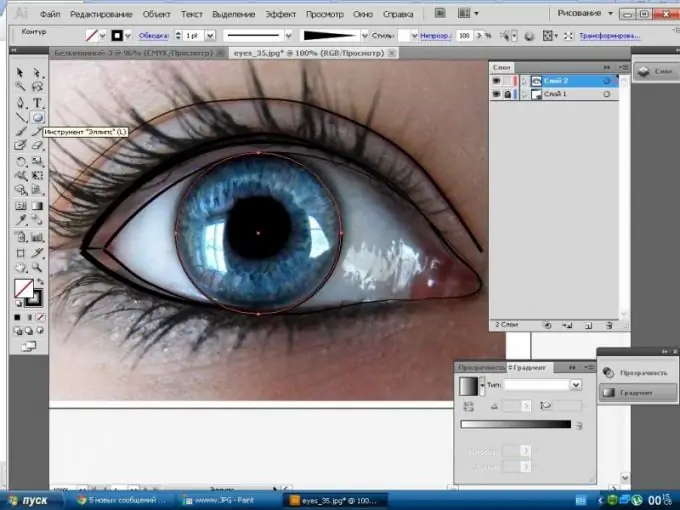
Step 4
Then in the toolbox find (ellipse) and draw (with pencil) the iris using a black stroke and a slightly transparent fill.
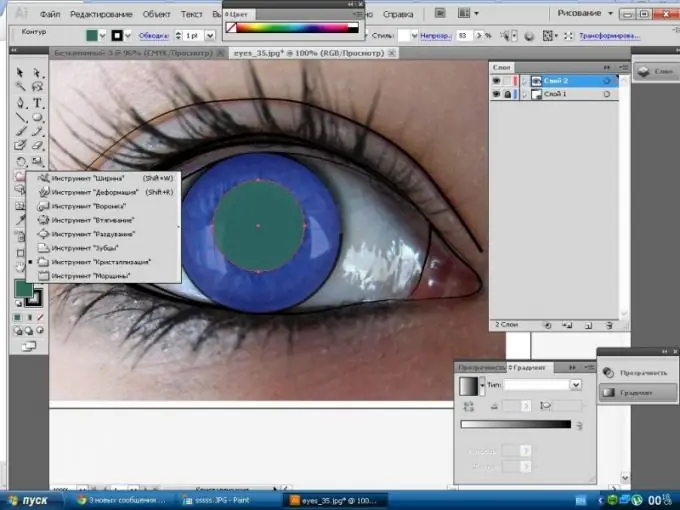
Step 5
Next, draw a new ellipse with a smaller size and a different color and change its shape using the "crystallize" tool. We do the same operation several times, changing the shades. Then we draw the pupil.
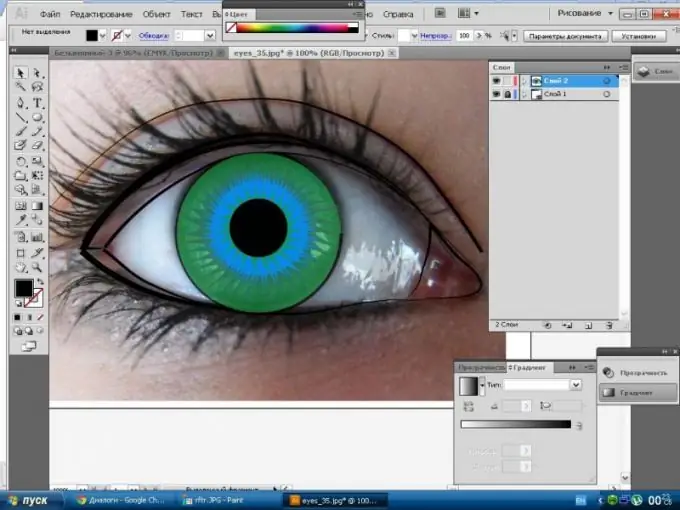
Step 6
We make the photo invisible and add details in this case for the eyelashes. On a new layer (pencil) with a transparency of 20%, we make a light skin tone around the eyes and the eyeball itself.
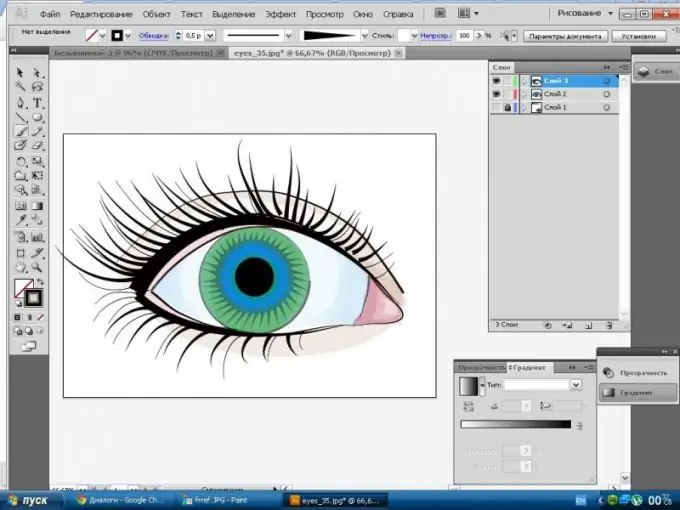
Step 7
The final stage. We make highlights to add volume. It is advisable to apply glare by repeating the shape in the photo, but you can also arbitrarily. And now the eye is ready.


