Many people are familiar with the situation when you came out well in the photo, but the background is uninteresting or boring. Or maybe you just want to replace the background in order to make the photo original, more picturesque and vivid. Or experiment by portraying yourself against some exotic background. All this is not a problem when you have photoshop at hand and a couple of necessary photos - the original one and with a background image.

Instructions
Step 1
First, open the photo you want to change the background on.

Step 2
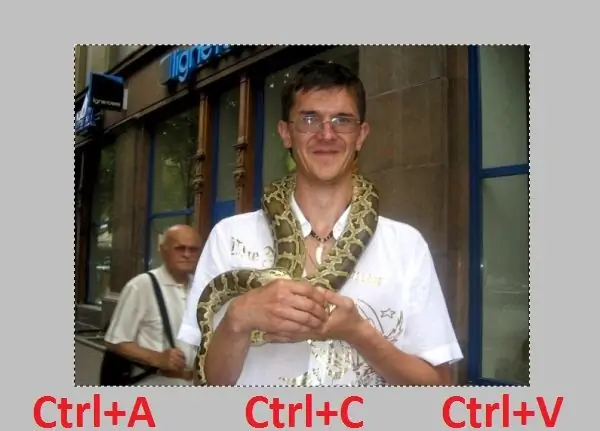
Next, one by one press the keyboard shortcut: Ctrl + A (entire selection), then Ctrl + C (copy) and then Ctrl + V (paste the photo on a new layer).
Step 3
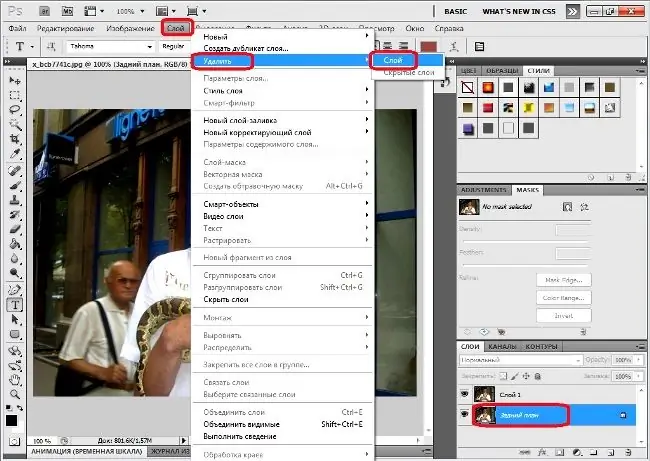
After the new layer is created, you can delete the background layer. Since it will not be needed further.
Step 4
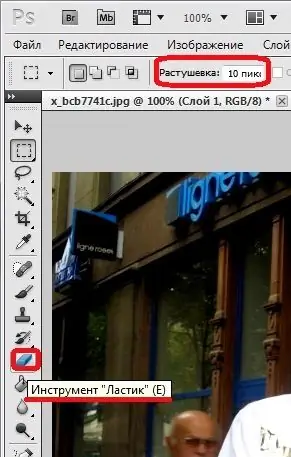
Select the Eraser tool / E (Eraser) on the tool palette and set the thickness of the eraser (feathering in pixels).
Step 5
Erase the adjacent outline under the background with an eraser.

Step 6
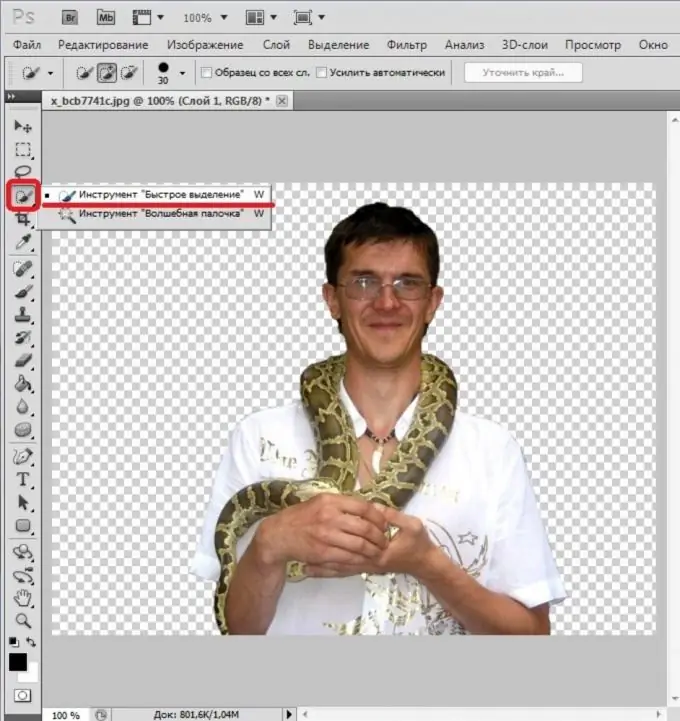
Clean up the rest of the background. This can be done with an eraser. It's easier to select the background with the Polygonal Lasso Tool or the Quick Selection Tool / W, and then press the Delete button. The original background is removed.
Step 7
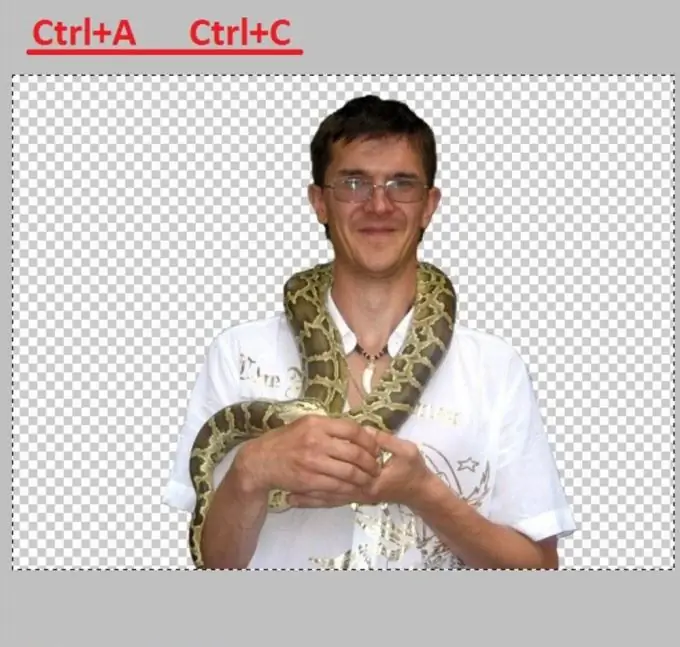
Select the image (Ctrl + A) and copy it (Ctrl + C).
Step 8
Now open the image with a new background.

Step 9
Move the copied selection to the background: Ctrl + V. In this case, the inserted image will be smaller or larger in size compared to the selected background.

Step 10
To correct the size of the image, you need to perform "Transform" using the shortcut keys Ctrl + T (or menu "Edit"> item "Transform"> command "Scale"). At the same time, a rectangular area will appear around the selected object, which can be transformed - stretched, narrowed or flipped. To do this, drag the squares on the rectangular area with the left mouse button. To maintain the proportions of the object when scaling, you need to hold down the Shift key while changing the proportions.

Step 11
Your photo collage is almost ready. It remains to blur the outline of the pasted image so that it is better aligned with the background (softer).

Step 12
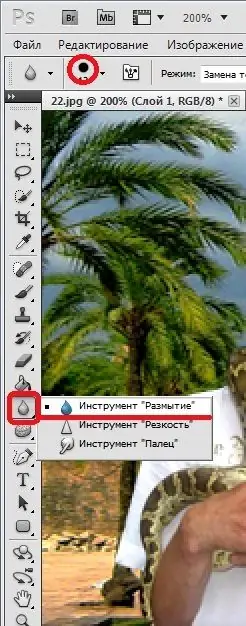
To do this, select the "Blur" tool on the tool palette and drag with the mouse. If necessary, adjust its size (thickness) on the toolbar of the active tool (under the main menu). Then, while holding the left mouse button, drag the tool along the outline of the silhouette.
Step 13
The new photo is ready.


